Showing posts with label Cottage Farms. Show all posts

Monday, January 5, 2015

"This Kiss" - Layout


Guess what?? It's Monday again....OMGOSH guys these Mondays seem to be rolling around quicker and quicker don't they?  It's time again for my Mad About Scrappin Monday project share and today I have a layout using some leftovers from Pink Paislee's Cottage Farm papers.  I have to admit to hoarding these papers....just a little bit ;), but I thought it was time to bust them out and get creative with them.


This pic of hubby and I was one snapped on one of our recent trips to the South Coast of New South Wales....I just love this part of Australia, so I have quite a few pics that I can scrap!! So guys as usual here are the pics..


The hessian or burlap flowers I are some I created using the Tim Holtz Tattered Florals die and some lovely little rhinestone centres.
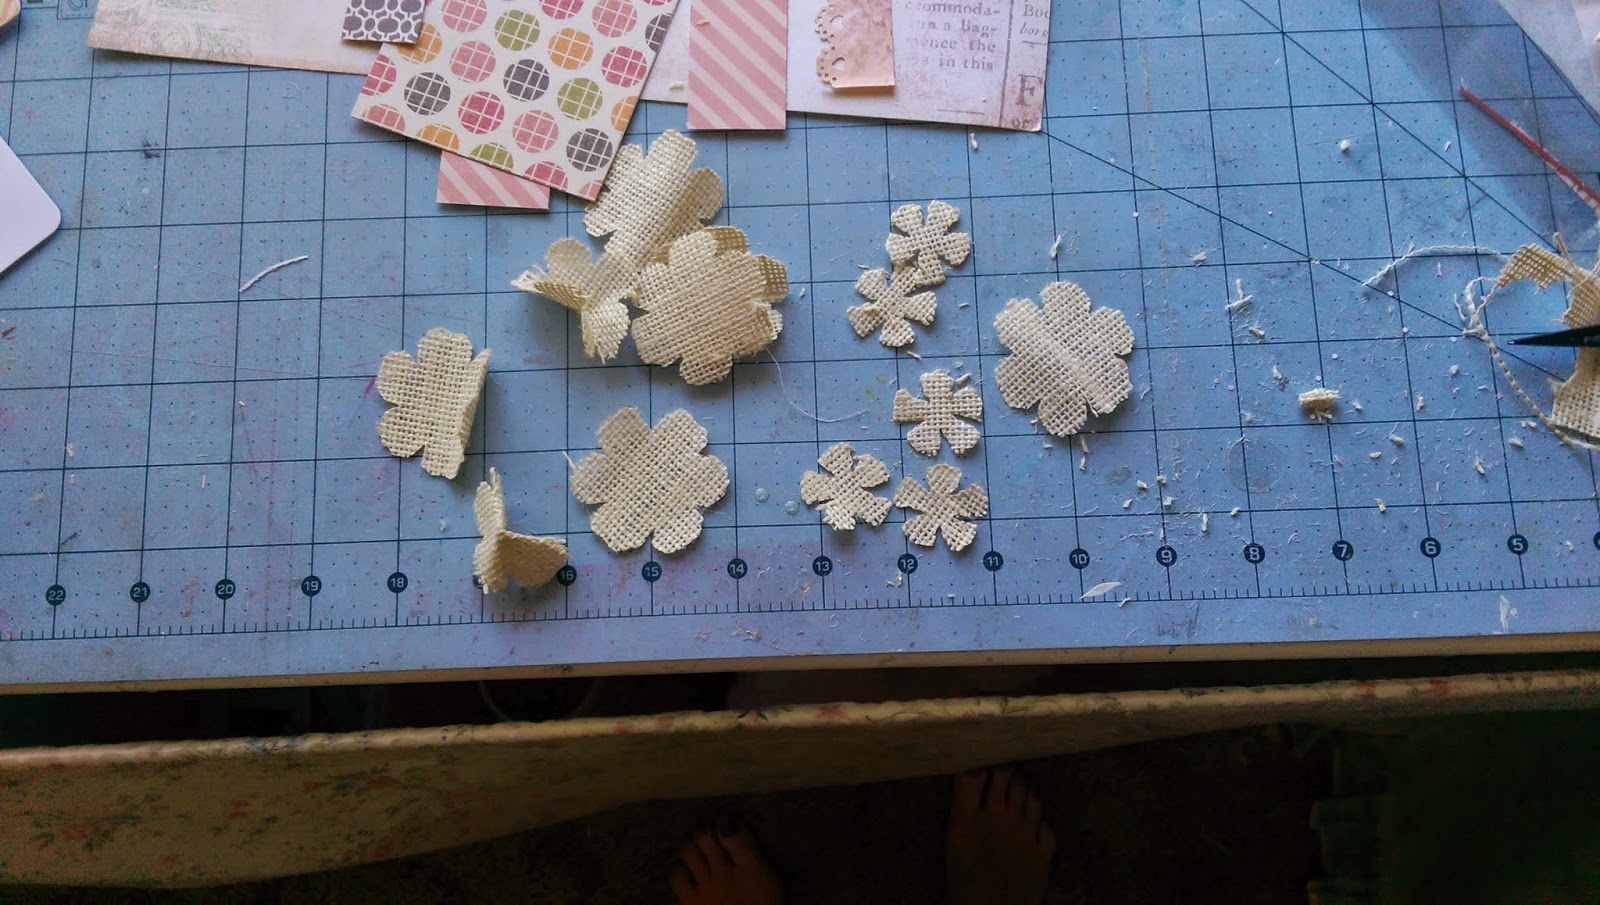


Here is a close up at a slightly different angle....


 I have used some random Kaisercarft Collectibles and a rub on from the collection to embellish with 


So guys, that's another quick post from me.  I hope you have enjoyed my layout and I have inspired you all to dive into your stash and use up all those leftovers!!  Thanks for stopping by and don't forget to check out all the Mad About Scrappin links below.


✿ღ.~♥  Much Love ♥~ღ.✿
Photobucket
Pin It Now!

Monday, May 12, 2014

Work In Progress Part II

Hey everyone, I have another instalment of my "WIP".  In this post I hope to show you all how I attached my page signatures to my cover insert....


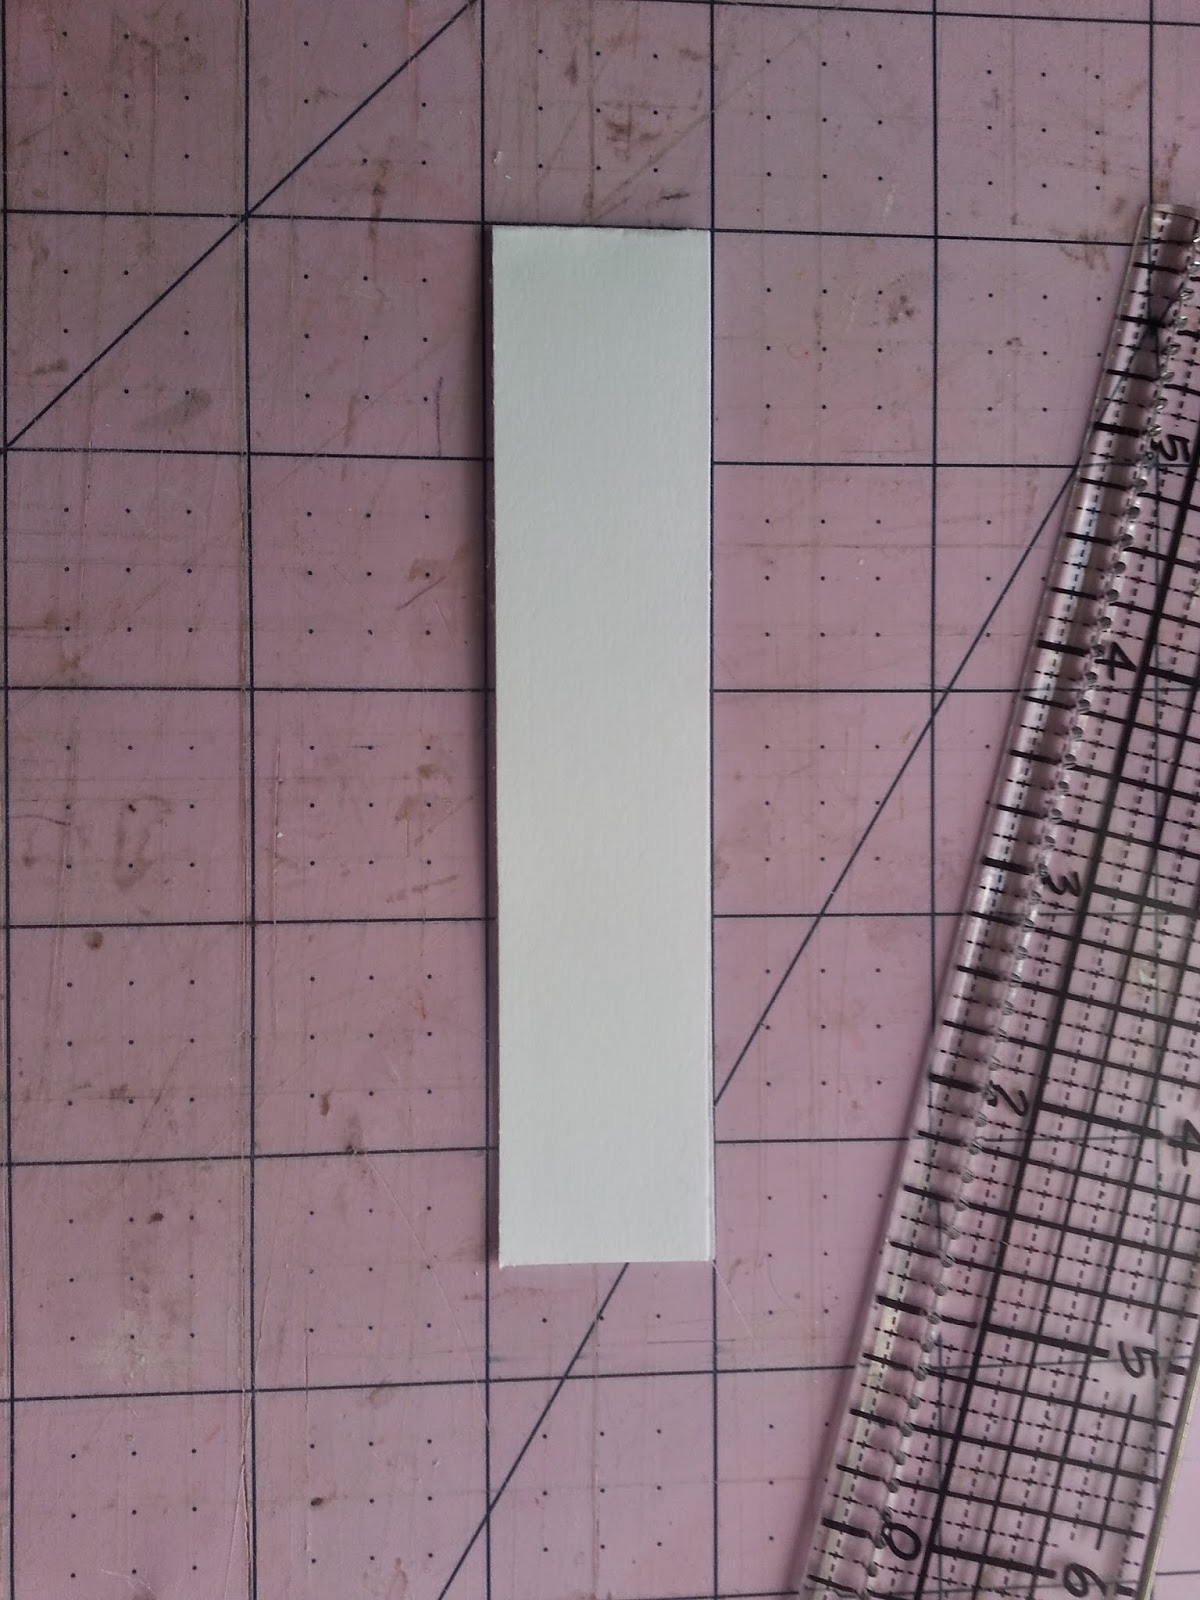
From my A4 Cardstock I have cut a strip that is 1" x 9" and I have folded this in half and adhered together using some double sided tape.
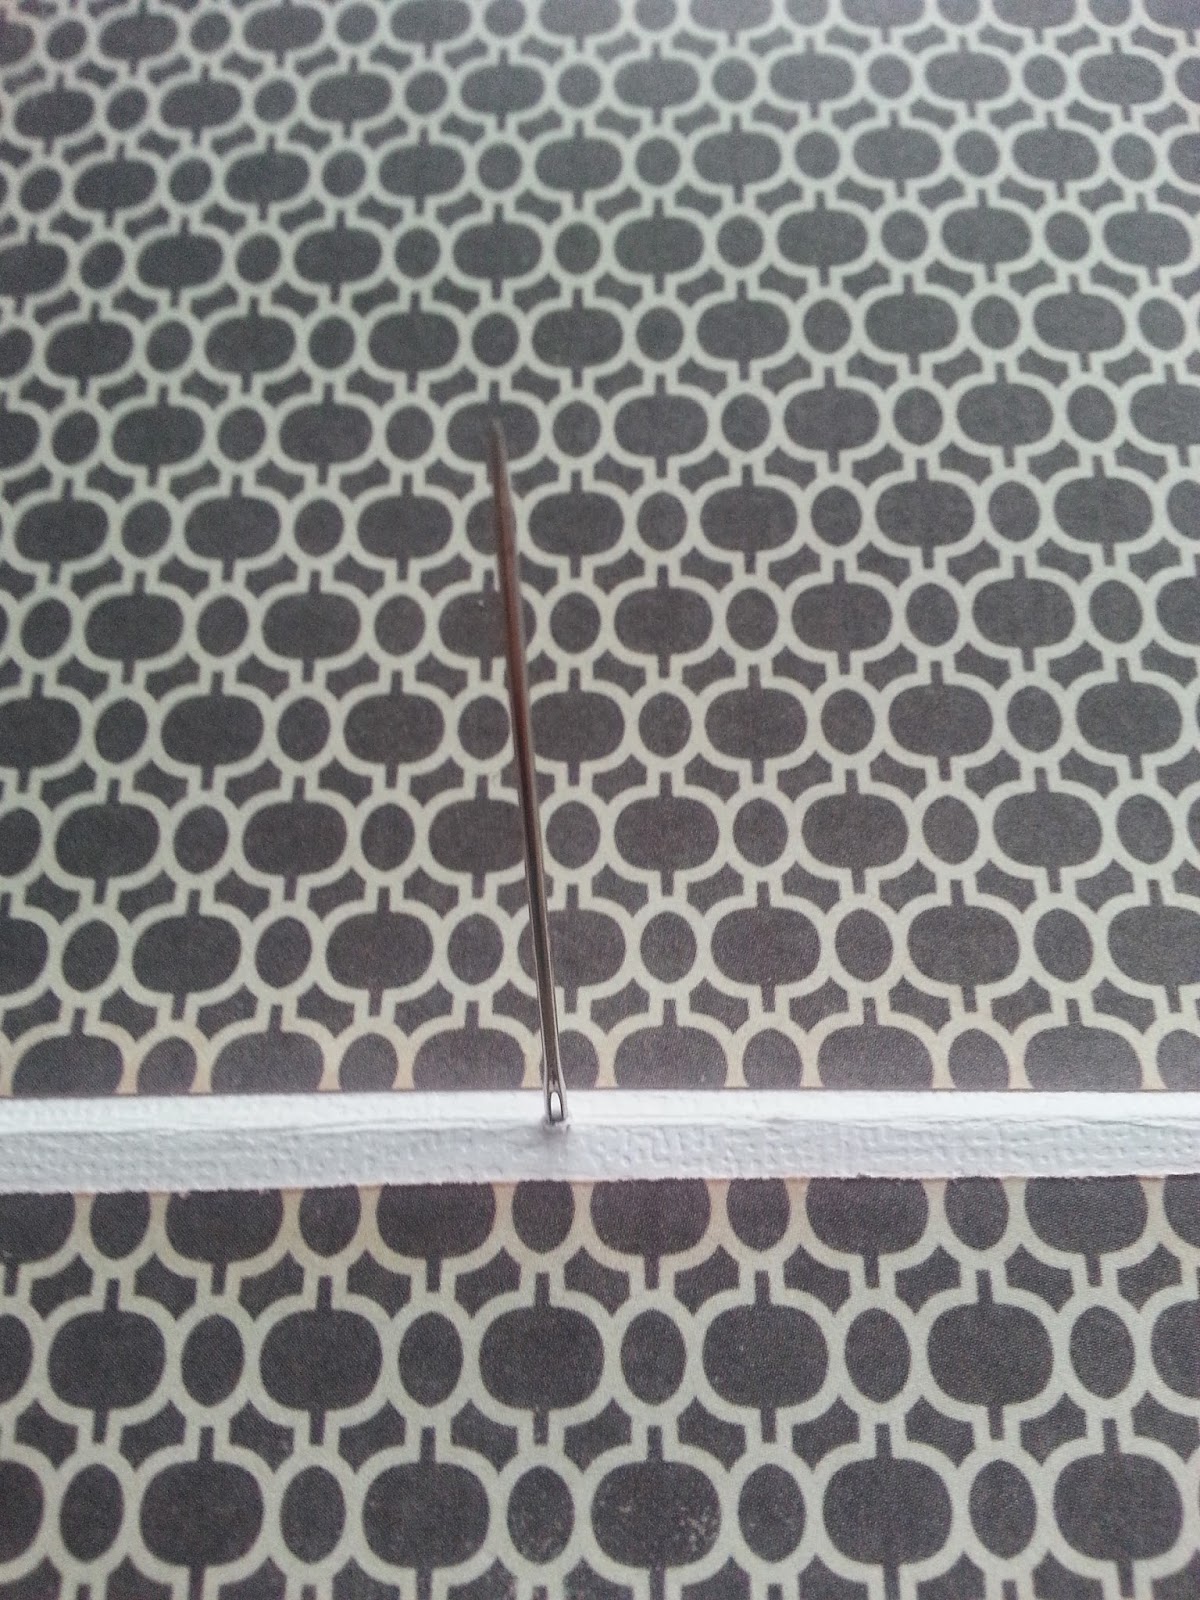
 I have then ruled ups some guidelines that are about a 1/4" apart and worked out where my pages will be positioned.  I then placed a dot where I would pierce my paper.
 I have pierced it at 3/4", 2 1/4" and 3 3/4"
  I have lined up all of my pages and pierced them as well


 Now to begin the sewing process.  I have used some 4 ply crochet cotton.
 and I have started in the binding strip.  I have brought the needle up into the strip and into the centre hole in the page
 then I have taken the needle back down through the hole on the lefthand side and back up through the centre hole again.


and back down through the right handside hole.   I have pulled as gently as I could so that the stitching was taut, but not tearing the cardstock.  I did this for all my pages. The following pics may explain the process better than I can.


The finished binding!!

My pages are now looking like this
Here is a close up on the sewing detail...


I then glued this into my cover 


OOOOOO I almost forgot...if you wish to decorate your spine on the outer cover, best to do it BEFORE gluing.  I have punched two holes added a couple of large eyelets and ran some pretty peachy coloured seam binding through.


 ....THEN I glued my pages in :)


 Now all that is left to do is add photo mats and embellishments.....that is for next week 
  

 Thanks for stopping by.....
Photobucket
Pin It Now!