Monday, May 12, 2014

Work In Progress Part II

Hey everyone, I have another instalment of my "WIP".  In this post I hope to show you all how I attached my page signatures to my cover insert....


From my A4 Cardstock I have cut a strip that is 1" x 9" and I have folded this in half and adhered together using some double sided tape.
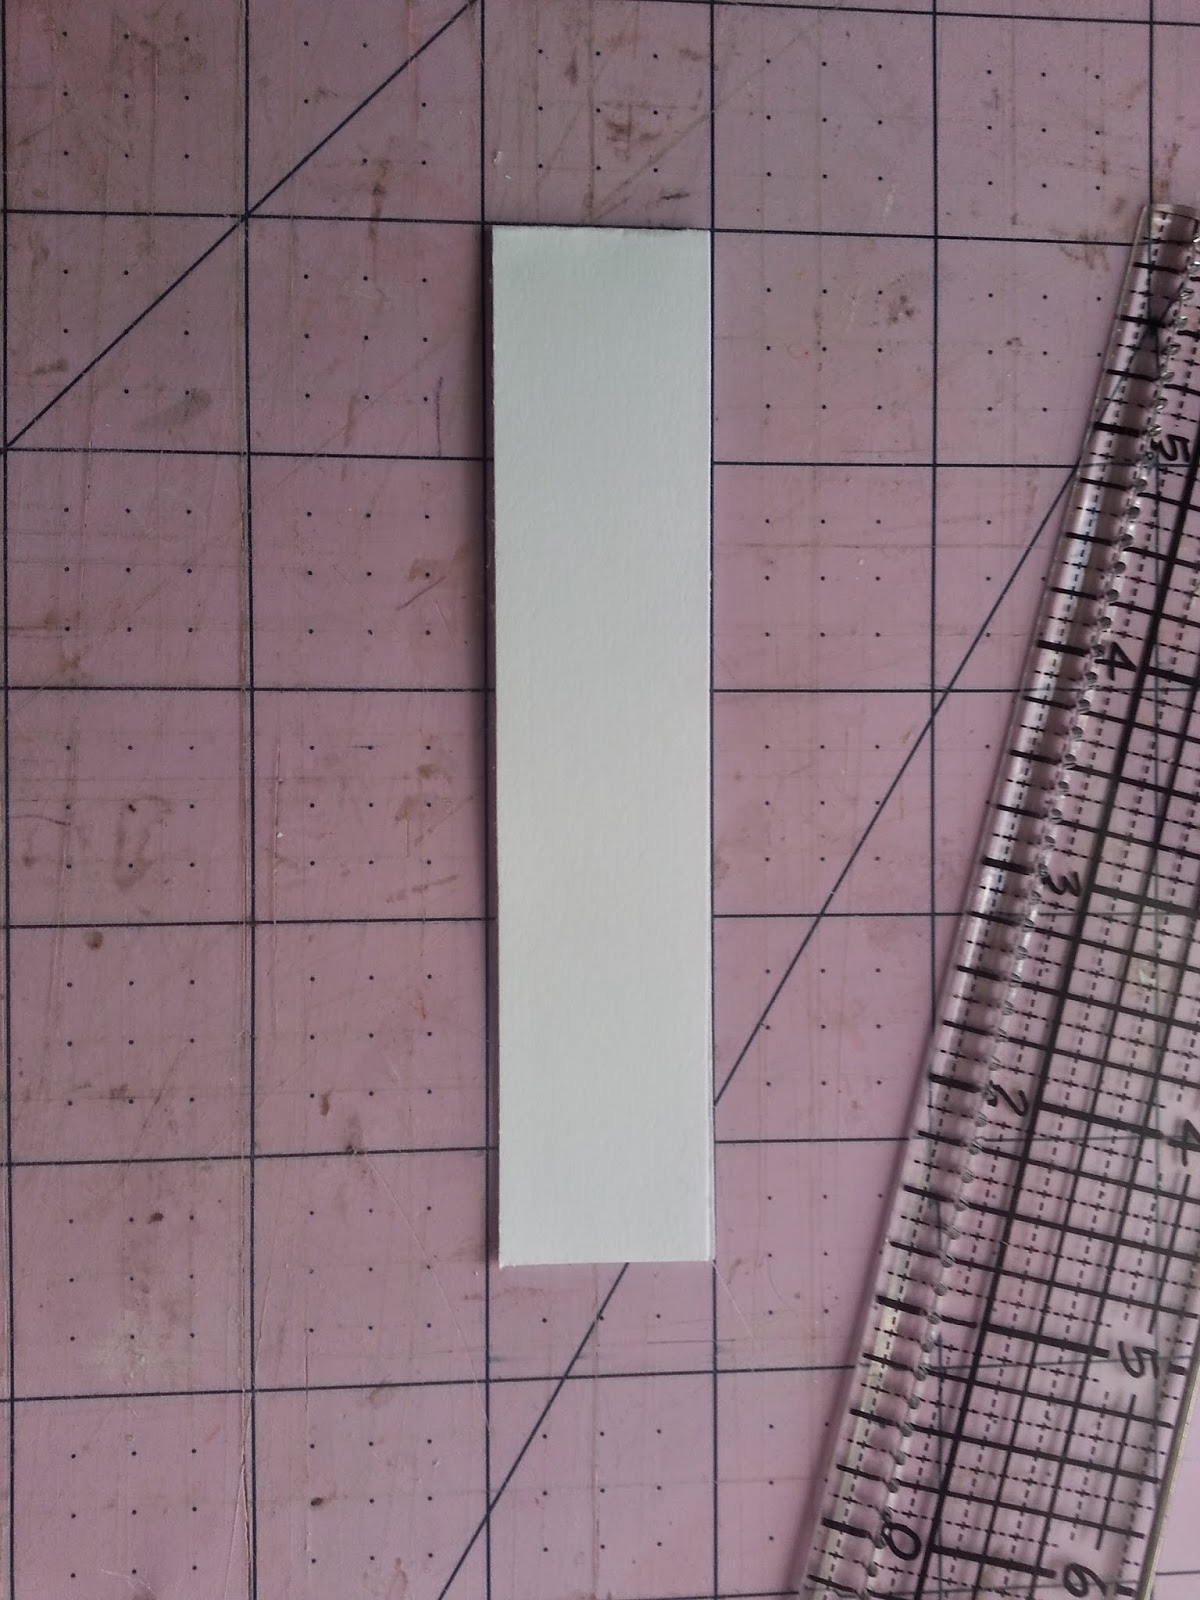
 I have then ruled ups some guidelines that are about a 1/4" apart and worked out where my pages will be positioned.  I then placed a dot where I would pierce my paper.
 I have pierced it at 3/4", 2 1/4" and 3 3/4"
  I have lined up all of my pages and pierced them as well


 Now to begin the sewing process.  I have used some 4 ply crochet cotton.
 and I have started in the binding strip.  I have brought the needle up into the strip and into the centre hole in the page
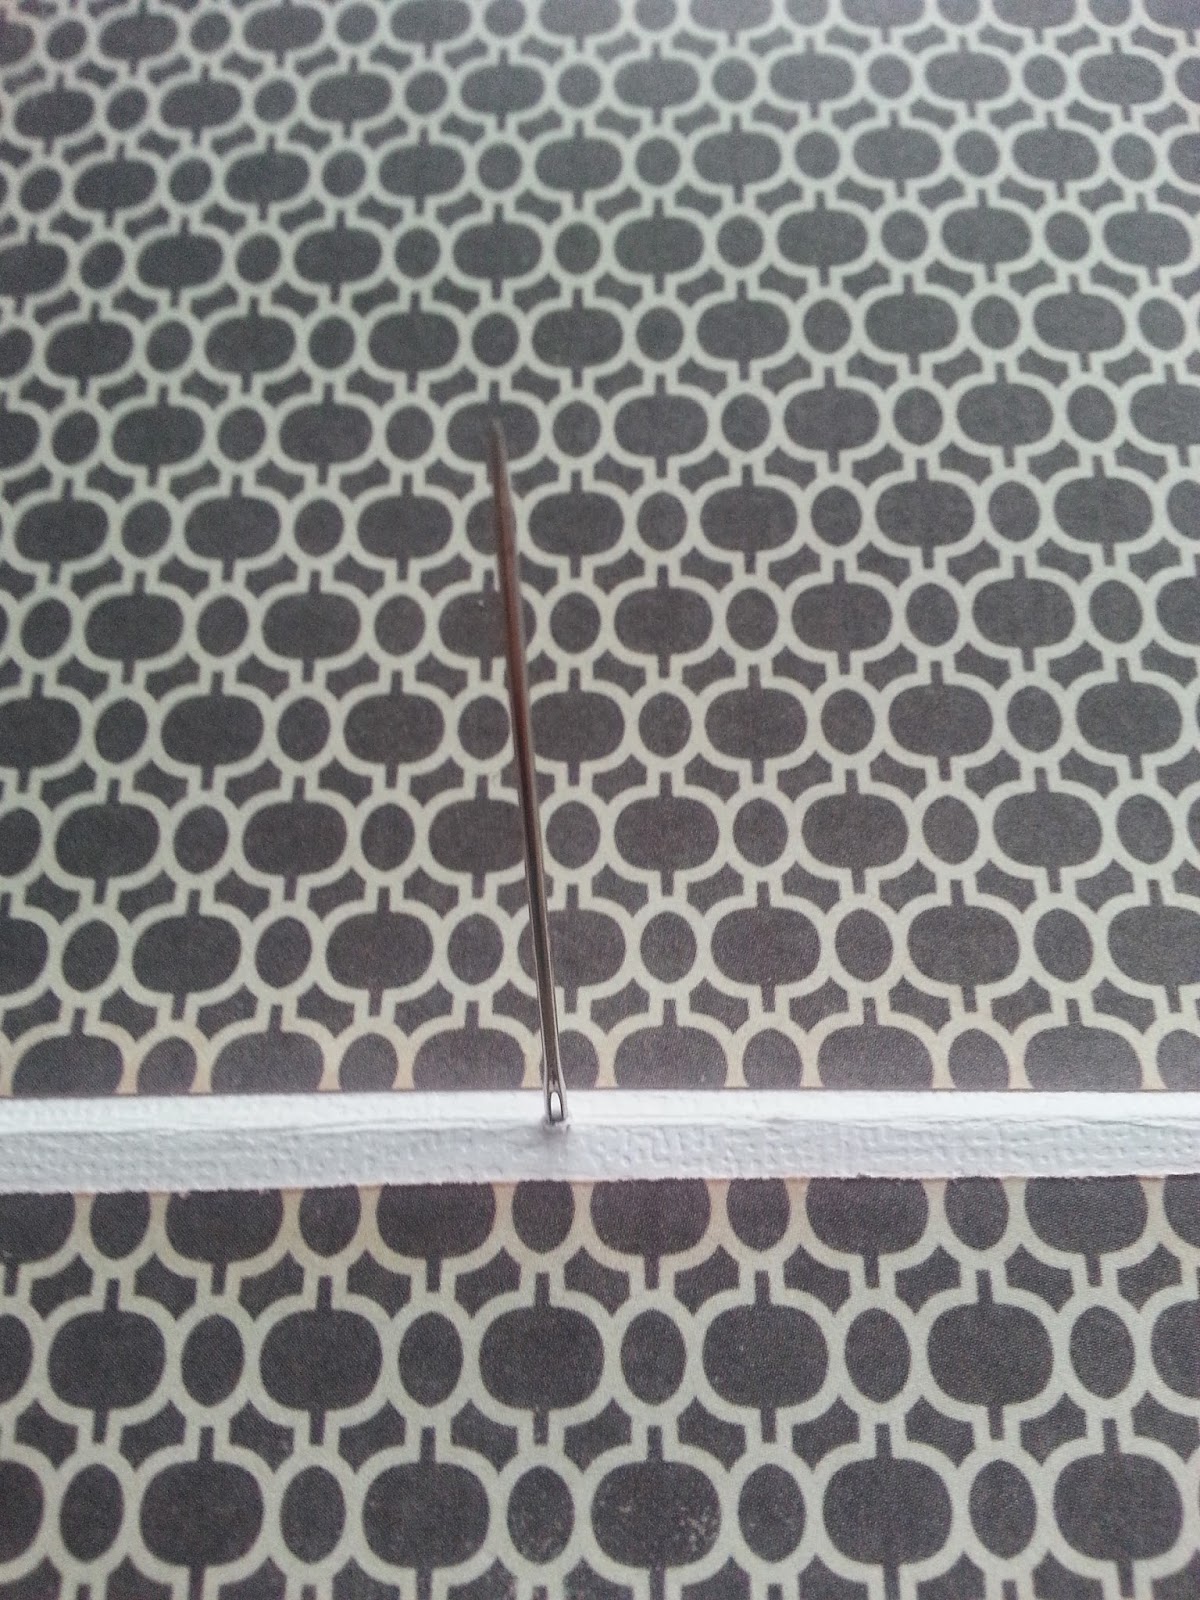
 then I have taken the needle back down through the hole on the lefthand side and back up through the centre hole again.


and back down through the right handside hole.   I have pulled as gently as I could so that the stitching was taut, but not tearing the cardstock.  I did this for all my pages. The following pics may explain the process better than I can.


The finished binding!!

My pages are now looking like this
Here is a close up on the sewing detail...


I then glued this into my cover 


OOOOOO I almost forgot...if you wish to decorate your spine on the outer cover, best to do it BEFORE gluing.  I have punched two holes added a couple of large eyelets and ran some pretty peachy coloured seam binding through.


 ....THEN I glued my pages in :)


 Now all that is left to do is add photo mats and embellishments.....that is for next week 
  

 Thanks for stopping by.....
Photobucket
Pin It Now!

Saturday, May 10, 2014

Amy Prior's May Sketch Challenge Example

Hi everyone! Hope you are all well. Amy Prior back again today to share my example layout for the May Sketch Challenge here at Mad About Scrappin. Click here to view the original blog post with all the DT amazing examples. Here is the fabulous sketch this month designed by Crece Thomas...
...and here is my example layout featuring lots of gorgeous products available from Mad About Scrappin.

My background is made with 12x12 Textured White Cardstock from Mad About Scrappin and I have added some new Dylusions Jade Mist to the background. 


Instead of misting the background directly, I have misted my Non Stick Craft Mat with some Dylusions and Water and then stamped my paper onto the mat to get this fun pooled blotchy effect.


I have fussy cut lots of the gorgeous flowers and circles from the Teresa Collins Daily Stories Collection as well as used lots of this range of paper in my photo mat layers. 


I have used lots of stickers from the Teresa Collins Daily Stories Collection also and all my paper and stickers were distressed on the edges to help break the patterns up a little. Inking and distressing the edges of paper is always a great idea when you want to combine lots of over-powering patterns together like this.


Under this gorgeous giant flower is nested an Ornate Wood Veneer Frame that has simply been covered with some Viva Decor Inka Gold.

Products available from Mad About Scrappin include...

Thanks so much for stopping by and don't forget to enter our May Sketch Challenge for your chance to win! Until next time, happy scrapping!
Amy Prior xx
Photobucket
Pin It Now!

Friday, May 9, 2014

Creative Inspiration - Week 19


Good Morning All.

Hope that you have had a good start to the month of May.

I have been squeezing in a quick morning of scrapping using some more bits and pieces from this paper range available at Mad About Scrappin.

With Mother's Day this weekend I have been busily creating a card especially for my Mum. 
Have done something a little different this time around with this paper range by Chickaniddy. Rather than focusing on the obvious colours on this paper I have decided to focus on the yellow in the centre of the little blue flowers. I have used a very vivid buttercup yellow from my paper stash to create a 5'x5' size card especially for my Mum. I wanted the card to be nice and bright feeling. However I felt that the navy flowers were a little too dark for what I was chasing. By teaming this with a Project Life bright yellow 3'x4' card I have been able to really brighten it up.

 To then tie in the blue I have added a die cut and glittered butterfly in the same dark blue tones and the navy flowers of the base flowers. I then added some lighter contrast flowers the soften it up a little and create a feminine feel to the card. I love adding flowers to cards as it adds dimension quickly. 

Well off to get the rest of Mother's Day celebrations prepared for my Mum.

To all the Mother's and Grandmother's out there...

I wish you all a magical Mother's Day.

Till next week.

Michelle x

Photobucket
Pin It Now!