Showing posts with label creative team inspirations. Show all posts

Monday, December 15, 2014

Christmas Bags n Tags

Hello everyone and thanks for joining me for another Mad About Scrappin Monday project share.  Today I have some bags n tags that will make a unique and personal way to give your gifts.  I have used three medium sized bags from the craft section in my local cheap shop and my Christmas kit.

There's not that much to really tell about these I have used a selection of papers from the Graphic 45 Twas The Night Before Christmas paper pad, which I have co-ordinated with some of the tags from the ..... sheet; some seam binding in Christmas colours; mulberry paper flowers from my stash and some lace from a previous creative team kit.  I have also created some matching tags from the 3 remain tags in the kit.  I have embellished them with the wooden icons; buttons and sentiment banners.


So I will let the pictures do all the talking now......


 Wow guys that was quick!! we have come to the end of my post already. Thanks so much for joining me again today and I will see you all again real soon.  Please be sure to check out all the Mad About Scrappin links below - especially the shop to see what's new and what's on sale.

 
PS:  Only ten more sleeps to go!!!!   Have you got your Christmas wish list in???

Photobucket

Pin It Now!

Monday, December 8, 2014

A Little Christmas Cheer

Hi all, thank you for stopping by.  I am back to spread a little Christmas cheer with you all.  It is time for my Mad About Scrappin MOnday project share and today I dug into my Christmas design team kit and created some gift cards and tags.  These are cute and just the right size to pop into that special someones Christmas stocking.


So now where to start?  I have used three of these tags and the two little gift cards.

I thought I would share a little tip with you all.  The three little tags were a little crinkled from their journey down to me....
....soooo I grabbed my trusty little travel-sized hair straightener 
.......and just ironed out the wrinkles.  I also use this on some laces and ribbons to get rid of some of those annoying little wrinkles.

Once I had them all straightened I then grabbed my Tim Holtz Tea Dye Distress Ink and make up wedge and inked up the edges.  I have also done the same to some chipboard frames.


I added a stamped sentiment to the back of the tag.


Then from the gorgeous embellishments in the kit


I embellished the little frames with some little tag cut outs from the "Long Winters Nap" and "Up on the Housetops" sheets from the 8x8 paper pad.  I topped each fo the tags off with a small jute bow and added some pine branches to the poinsettas


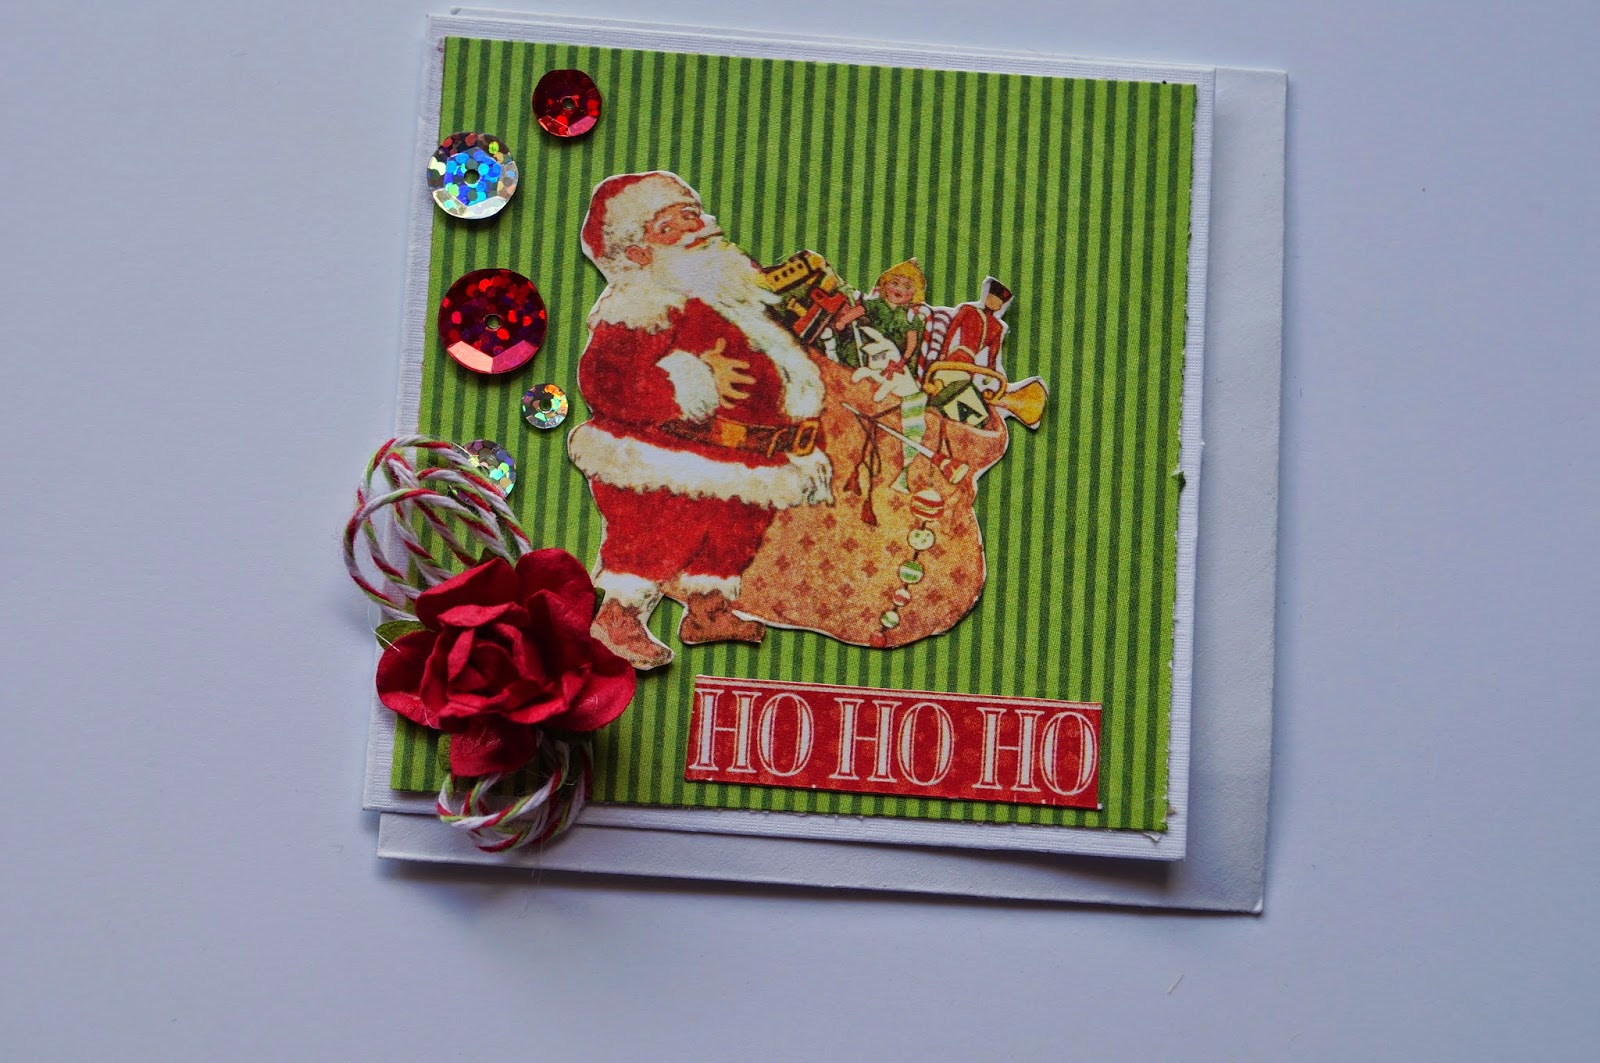
The two itty bitty gift cards are only 3"x3" square and were great to use up some of the leftover paper scraps I had.
 From the "Ho Ho Ho" sheet  I fussy cut the two "Ho Ho Ho" word strips
 I fussy cut the Santa from one of the postcards found on the "Up On The Housetops" sheet and added a red rose from my stash with some of the twine and sequins from the kit.
 The second little gift card is much simpler as I have just layered different selections from my scraps and fussy cut the image from the "Jolly Old Elf" sheet
  I added a small twine bow with a little bit of bling in the centre.


 Soooo we come to the end of my post.  I hope I have inspired you to spread some festive cheer too.   Please be sure to check out all the Mad About Scrappin links below - especially the shop to see what's new and what's on sale.


Photobucket
Pin It Now!

Monday, December 1, 2014

Guess What?????


It's starting to look a lot like christmas :).... This is what arrived in the mail for me this week.   My Mad About Scrappin Christmas kit!!  Just look at all those goodies  AAAAAND Graphic 45 Paper.  I sure was spoilt!!

I just couldn't wait to get creating with it...so I dived right in and made my first batch of christmas cards.  The first set that I have to share are made from the three A2-ish sized cards that were included in the kit (see pic below.


Sorry guys I know the pics aren't great, but it was kinda tricky photographing all three cards together! So here is group shot and I have some individual snaps as well.

 My first card was created using the "Bundle of Toys" and "Merry Mistletoe" from the paper pad.  I have also fussy cut one of the postcards.
 I have embellished with the lovely little white poinsettia from the kit along with a sprinkling of sequins.  I was kinda trying to pull off that falling snow look....... mmm not sure how I went with that ;) I have also tucked in a small stamp fussy cut from the "Ho Ho Ho" sheet.
 I also added one of the small green paper flowers to the top corner and added some sequins.  I adhered the sequins down with glossy accents.
 For my second card I thought I would go with red embellishments on the green background.  The papers I have used were "the Night Before Christmas" and "Happy Holiday" .  I have also fussy cut and matted a postcard from the "Long Winters Nap" sheet.

 I have teamed it up with a mix of red and silver sequins, the red poinsetta and the "Merry Christmas" tag or banner that came in the kit.
 And the last card in the set - which happens to be my favourite - is this one.  I have used the other half of the "Bundle Of Toys" and the reverse side of "Happy Holly-Day".
 The flowers I have used were also in the kit.  I am not real sure what they are called, but they remind me of bells.  I have fussy cut the centre from a postcard and layered it on top of a gorgeous frame from one of my previous kits.  The seam binding is from my stash and so are the pine branches.

 Now moving onto my second set of cards.....Gosh guys this is a long post....do you need to take a break and go grab a cuppa???  These next two cards were created from the Scalloped edge/trifold ones that are pictured below


I have created the cards using two different orientations....


 .....the first one I have going "landscape".  Lucky for me I have managed to use the leftovers from the first set of cards and more embellies from the kit.
 Here I have fashioned a bow from the twine by wrapping it a few times around my fingers and then hot glued it down in a figure 8 and topped it with one of the cute little Christmas themed buttons.  I also glued some red sequins to the "O's" in Ho Ho Ho.
 I have tucked the banner just under the flower cluster to help keep the card closed.

 My second card I created in protrait.  I have used more leftovers and just a little bit from the "Ho Ho Ho" sheet.  I have fussy cut the larger print from the "Jolly Old Elf" sheet.
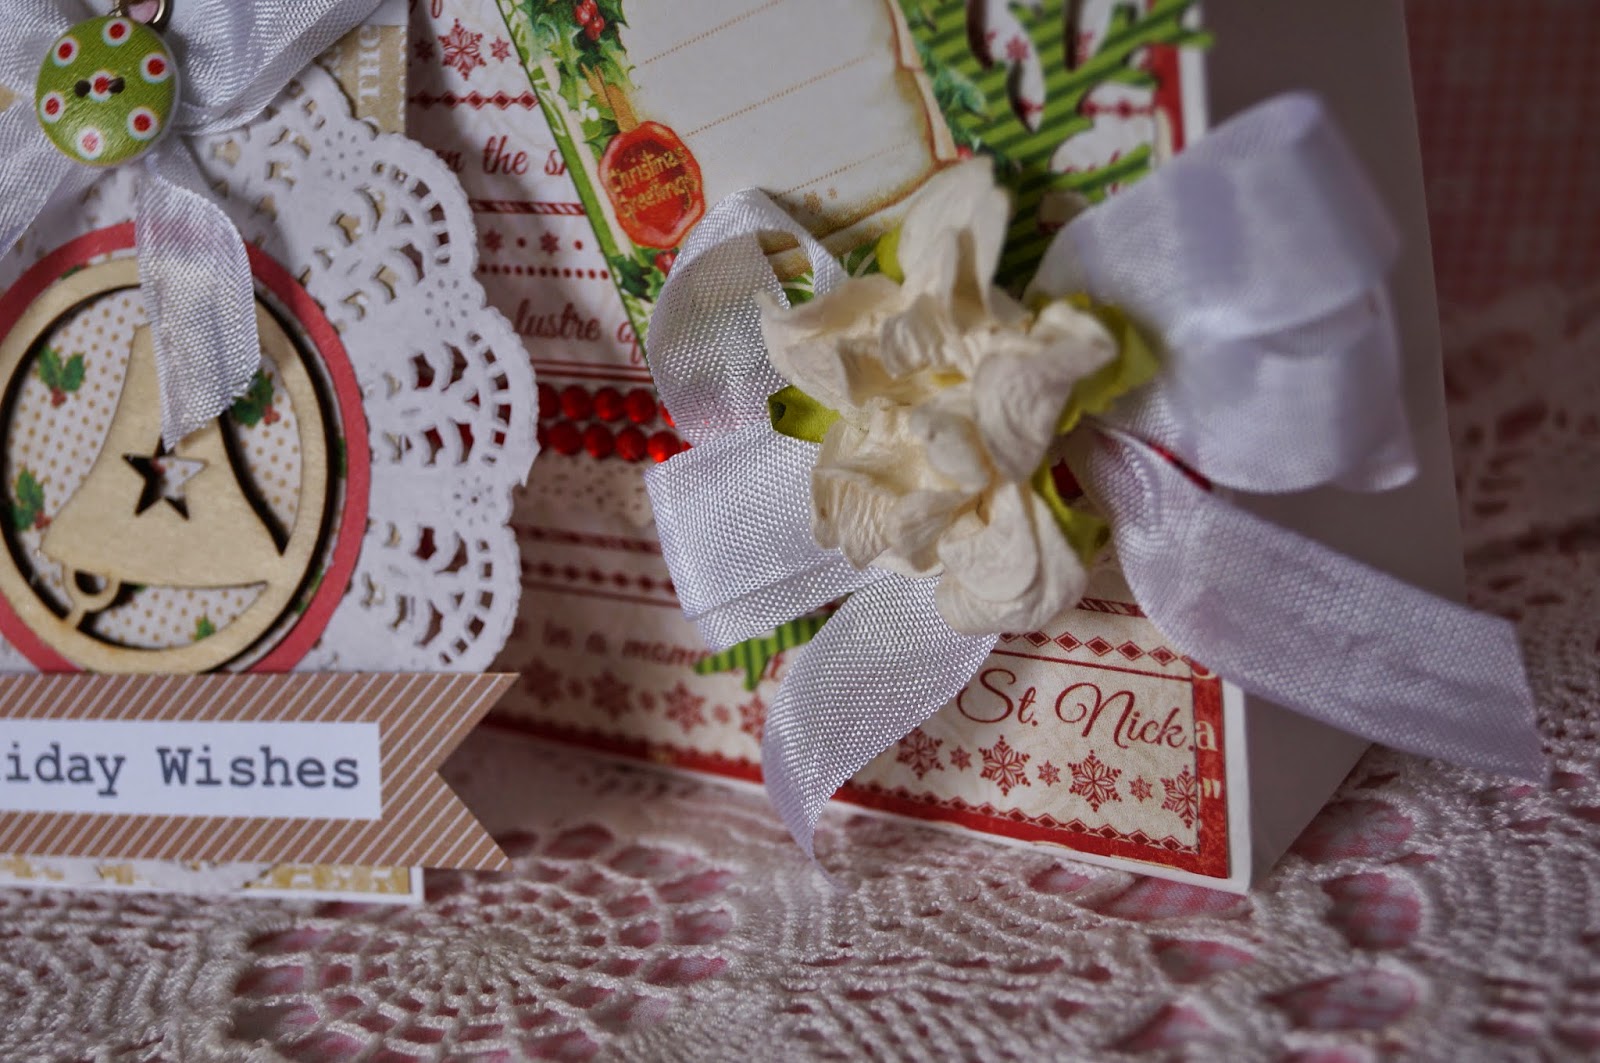
 I have added a little bow using the twine...I also wrapped a few strands around the background and topped it with the "Holiday Wishes" banner.
 Added a flower and bow to the corner......
 and highlighted the berries in the holly with some of the red bling trim that was also in the kit


 Well, that's it guys....I have finally come to the end of my post. It was a bit of a long one this time around.  I really do hope these get you into the festive spirit and inspire you to create.  Please be sure to check out all the Mad About Scrappin links below.


Photobucket
Pin It Now!