Showing posts with label Buttons. Show all posts

Saturday, May 30, 2015

Creating with a kit - September Skies Kit


Back to share with you the first of two kits I have worked with on behalf of Mad About Scrappin.

This is the first of the two that I want to show you called September Skies.
This kit includes the following with full instructions for the 3 above layouts:
4 x Heidi Swapp September Skies Pattern Paper
2 x Cardstock (not pictured)
3 x Flair Buttons

1 x Roll of Washi Tape
1m Twine
3 x Set of Journal Cards
Peg
Hot Air Balloon Wood Veneer
Wood Veneer Frame - Shine
Bitty Bag
2 x Peonies 
Magnolia Flower
Wish Chipboard Word
Doily
Wire
Star Sequins

ONLY $15.00 
The first layout was quite a fun layout. I have played around with some fun photos of my girls and one of their good friends at the playground we took last month. I have created with the mixed patterns in this paper range to create pennant flags to embellish this layout. 

The title I have used hand cut the word happy and then mounted it onto some of the matching patterned paper and then hand cut it out again. 
I have also added some hand stitching to add a little detail. However you could do the same with a journal pen should you not enjoy hand stitching on your layout. 

I have then added some interest to the layout using a mix of matching buttons from my stash and one of the flairs from the kit to finish it off. 

I played around with the florals in the next layout. I loved the bolder colours in the floral pages. I have teamed that up with the bolder red orange papers from this kit to add a bit of contrast on the black cardstock. 

Once again I have created my own embellishments for this layout. I have hand cut some stars from the floral paper and then mounted them onto the bolder red orange dot paper. I have adhere them staggered using some 3D foam tape to create dimension. 

I have used a couple of stamped to add some details to a graph journal card from my stash to add a little bit extra to the page. I have then used a office paper clip and jazzed it up with washi tape. 
Super easy and fun to play with. 

The last layout I have played around with the blues and greens from the kit. I have added a journal card to this layout too. Half of the graph journal card has been stamped with a number stamp and the other half I have border punched. These I have then layered with a lined paper bag and added the wood veneer balloon for some interest. 

Once again I have played with another paper clip with washi tape. This I have added to another piece of  graph journal card and finished off with a flair from the kit.

I have finished the layout off with a few touches of washi tape to add a bit of interest. 

All three of these layouts were super easy to create and fun.

Head over to the Mad About Scrappin Facebook Page to grab one! 

Will share the next kit soon.

TFL, Michelle xxx


Photobucket
Pin It Now!

Friday, July 4, 2014

Creative Inspiration - Week 27


Hello all.

I almost forgot to get this post sorted out for today.... 

I have been busily sorting out school holiday plans here and was curled up in bed when I remember that i needed to share with you all this weeks Creative Inspiration on behalf of Mad About Scrappin.

So this week I have played around with the last of this Echo Park Photo Freedom kit that I have used over the last month.

Now.. I managed to get some scrap time in through this week and have created a pocket page layout. I must say that when I find I am time poor that pocket pages are just so easy to create. 
So here's this weeks inspiration.
I have been trying for what seems like forever to get a nice photo of all the kids together. It seems like a painful task sometimes I must say. You can never get them all looking at the camera. Never get them all smiling. Or if you do you tend to get that cheese cake smile. Well.... this time I managed to capture all those and more in this impromptu photo shoot one morning before school. When I looked through all the photos I found that several of them were perfect for this layout I wanted to create documenting our crazy life.
I have loved mixing up the pocket pages a bit and using some of the 4'x6' pockets to tell the story. I have layered 3'x4' journal cards onto 4'x6' journal cards to create the base for the decorated pockets. I have then used a mixture of embellishments I grabbed from a Mad About Scrappin sale to finish off the pockets.

I love these little journal cards that Leanne had in store for a sale. I wised I had more of them as they were so cute and worked so well for this layout. I have brightened up this pocket with these lime green spotty buttons too.

I used one of the pocket to create the title for my layout. I love the little paper bags that were on sale recently at Mad About Scrappin. They are great for photo pockets as they are the perfect size and add that perfect spot for some hidden journalling too.

Have you payed around with some odds and ends you might have grabbed from a Mad About Scrappin sale lately ??

Have you had a chance to scrap u a storm ?

Why not get creative this weekend.

Till next week.

TFL, Michelle x

Photobucket
Pin It Now!

Friday, October 25, 2013

Mad About Scrappin - Layout of the Week - Week 20

Welcome back to another week of fun on behalf of Mad About Scrappin.
 
Okay.. so I know that today I am suppose to be sharing with you a new layout I have created as the title of the post suggests.
 
However just to throw you a curve ball I thought I would mix it up this week as I had a few cards to make for birthdays AND wanted to show you how I have used up the last of the scraps of the Echo Park Co. Paper range I have been using this past month.
 
So... with that in mind.. here is three very different cards I have created using up the last of the paper range A Perfect Summer range.

 Here I have created a card for my son's 10th birthday on the 24th October. Have thrown in a few scraps of old packs like the hessian and a handcrafted polymer button.
 
 Next I created a card for my niece's 14th birthday on the 28th October. Another polymer button used for centre of the hand cut flower and some stitching with a journal marker to finish it off.

Lastly was a card created for my daughter's 16th birthday on the 27th October. I have hand stamped randomly the base card and the scraps of paper too to grunge it up a little. A little bit of weaving of the paper scraps. Then throw some flowers in the mix to add that little bit of a feminine touch.
 
Super quick cards using up the scraps I just couldn't part with.
 
Well.. off to prepare for all the parties now.
 
Till next week.
 
TFL, Michelle x

Photobucket
Pin It Now!

Friday, October 11, 2013

Mad About Scrappin - Layout of the Week - Week 18

 
Hello everyone.
 
Hard to believe that I have been sharing with a you all a layout of the week on behalf of
Mad About Scrappin for 18 weeks now!
 
Where have all those weeks gone??
 
Time just seems to be whizzing by this year.
 
Before I know it Christmas will be here!
 
Anyway.. this week I have to admit to being time poor for scrap time. Being school holidays here at the moment, having had a week off for a family holiday at home and being knee deep in paperwork this week I really have left this weeks layout till the VERY last minute.
I know.. I know... not like me at all.
 
It is not that I haven't wanted to scrap.. but the my paperwork fairy is non existent this week,
so I have been left to the task myself. Plus the amount of paperwork I have been needing to type up for filing is HUGE!!! so far stands at over 50 pages!!!!
 
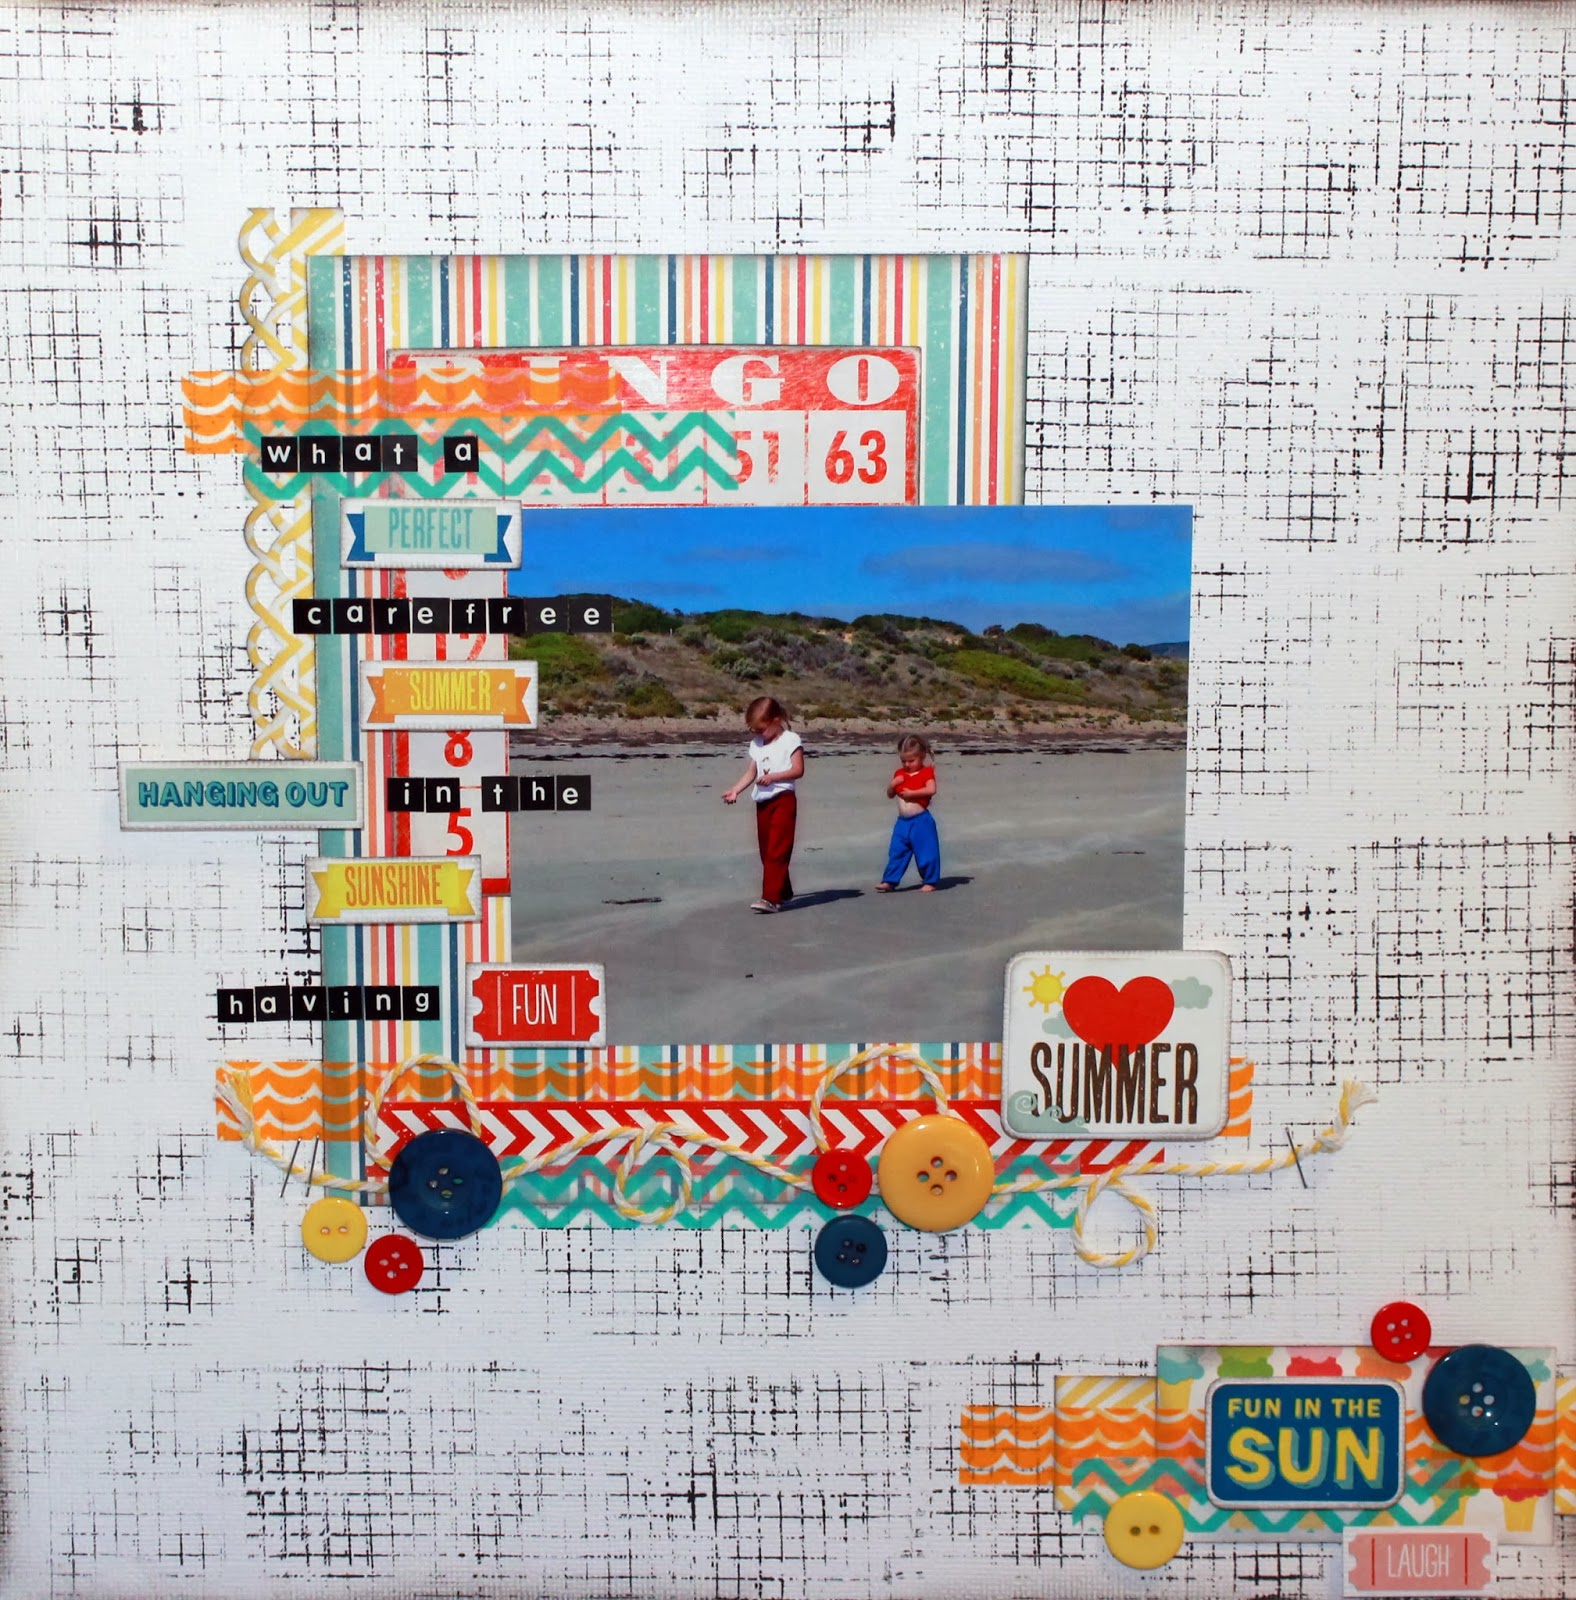
So with all that in mind today after lunch I took a quick..or should I say VERY QUICK break to scrap this layout for you using the yummy Echo Park Co. paper range - A Perfect Summer.
 
So here's this weeks quick layout.
 
I just cant seem to get enough of this paper range. I must say I am starting to run down to the last scraps at the moment though. I have JUST enough for one more layout and will be sad to see it all gone.
 
This week I found that the plain white card stock base just wasn't doing it for me with this layout. It looked too stark. So I set to work making a major mess of my hands with some staz on and a Kaisercraft background stamp. I think it has helped the colours of this paper to really pop.

Once again this week I have added a bit of washi tape to the layout. I love the look and feel of washi tape. I also love how quickly it can add to a layout with very little effort.
 
Rather than just have a title on the page I decided to use some of the word stickers from the matching Echo Park Co. Sticker sheet along with some Kaisercraft mini stickers to journal on the page. I mounted them stickers to some scrap white card stock and then mounted them onto the page using 3D foam squares. Adds a bit of dimension and creates a bit of interest I think.
 
I then finished it all off with a bit of bakers twine and some bright button. Super quick I must say.
 
Sometimes it is just a fun when you are time poor to just create a really quick layout.
 
Took me about 30 minutes to complete and I must say I am quite happy with this bright and bubbly layout. I'm happy I got a chance to play in this super busy week.
 
Better get back to the paperwork pile before it eats me alive!
 
Till next week.
 
TFL, Michelle x
Photobucket
Pin It Now!

Wednesday, September 18, 2013

Colourful Wooden Butterflies!

Hello Mad fans!
Renee here with a layout that I did featuring the gorgeous Colourful wooden butterflies that were available in the last Flog it Friday sale :)

She Loves Her Brother


The Wooden butterflies are so cute and come in a rainbow array of gorgeous colour and have cute detail on them :) You receive 15 per pack for the bargain price of $0.80!!!!!


#4850  Coloured Wooden Butterflies

I have also used this fab new range of patterned paper that gives you the mixed media look without the mess!
#4782  Wild & Free - Drips Pattern Paper by Glitz Design


TFL!
love Renee
xoxox


Photobucket
Pin It Now!

Friday, July 19, 2013

Mad About Scrappin - Layout of the Week - Week 6


Welcome again to another week of sharing. 

This week I have had a chance to make a major mess using some glimmer mists and template from 

I have also had a chance to play around with a few scraps of this yummy paper again to create this latest layout.

I don't know why but I just cant seem to leave a piece of white card stock white all the time. I must admit too I rarely scrap on white for fear of getting it dirty or smeared before I have finished the layout.

Now.. for this layout I just couldn't leave the card stock white. It was firstly too stark for the paper scraps I was using and secondly it just didn't work with the personality of little Miss in the photo..lol.. what I hear you say... well I just couldn't scrap this photo of my little Miss scruffy as it just doesn't match her personality.. she is messy, a comedian and better known as Miss Trouble....lol. 

I find sometimes when I scrap that I want to let the view have a little insight into the subjects personality or nature in the way I scrap the photo. So with that in mind I felt I needed to "mess up" the card stock base with a little help from a template from Mad about Scrappin and some light misting of matching glimmer mists I had on hand. I also flicked some of the glimmer mist directly into the card stock. 

To add a little bit more depth to the base I then lightly ink and stamped using my hand as the stamping block using a invoice stamp with Staz on ink. This means that you don't get the whole stamp image stamped and created an uneven image. I even used this technique on two pieces of scrap white card stock that I was using the embellish the page.
Now.. I wasn't real sure about using hessian and how I could work with it. I loved being able to fray it a little to expose some of the thread gave me the look I was hoping for. Then I found using double sided tape directly onto the card stock base where I wanted it held it well. By mixing up my paper scraps to the size and colour combinations I was happy with I created dimension by adhering some using layers of 3D foam tape. Then to finish the layout off ad make it look just a little feminine I sprinkled on some matching sequins and buttons.

I must admit I had quite a lot of fun playing around and making a bit of a mess. 

Have you played with anything outside your comfort zone lately ?

Why not give it a try and check out the Mad About Scrappin store for lots of fun goodies to play around with today.

Happy Scrapping.

Michelle x
Photobucket
Pin It Now!