
Hey everyone, I have another instalment of my "WIP". In this post I hope to show you all how I attached my page signatures to my cover insert....


From my A4 Cardstock I have cut a strip that is 1" x 9" and I have folded this in half and adhered together using some double sided tape.
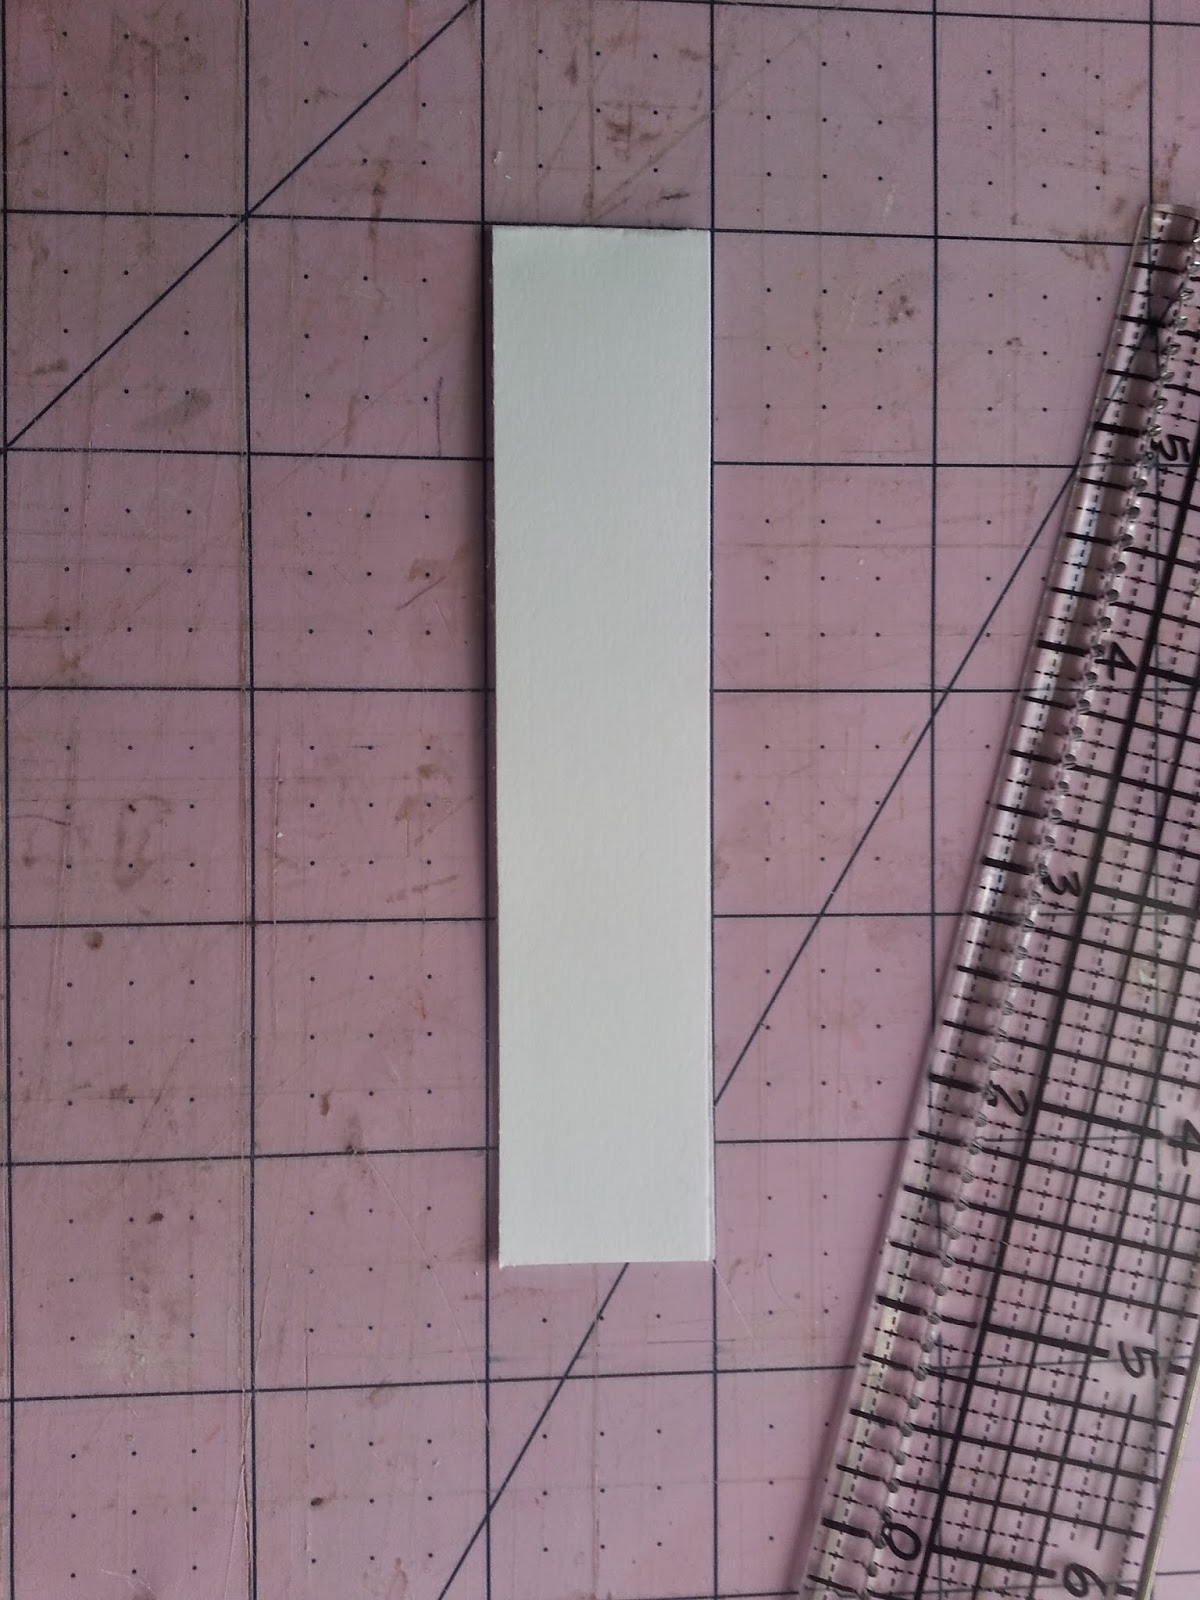
I have then ruled ups some guidelines that are about a 1/4" apart and worked out where my pages will be positioned. I then placed a dot where I would pierce my paper.

I have pierced it at 3/4", 2 1/4" and 3 3/4"

I have lined up all of my pages and pierced them as well


Now to begin the sewing process. I have used some 4 ply crochet cotton.

and I have started in the binding strip. I have brought the needle up into the strip and into the centre hole in the page
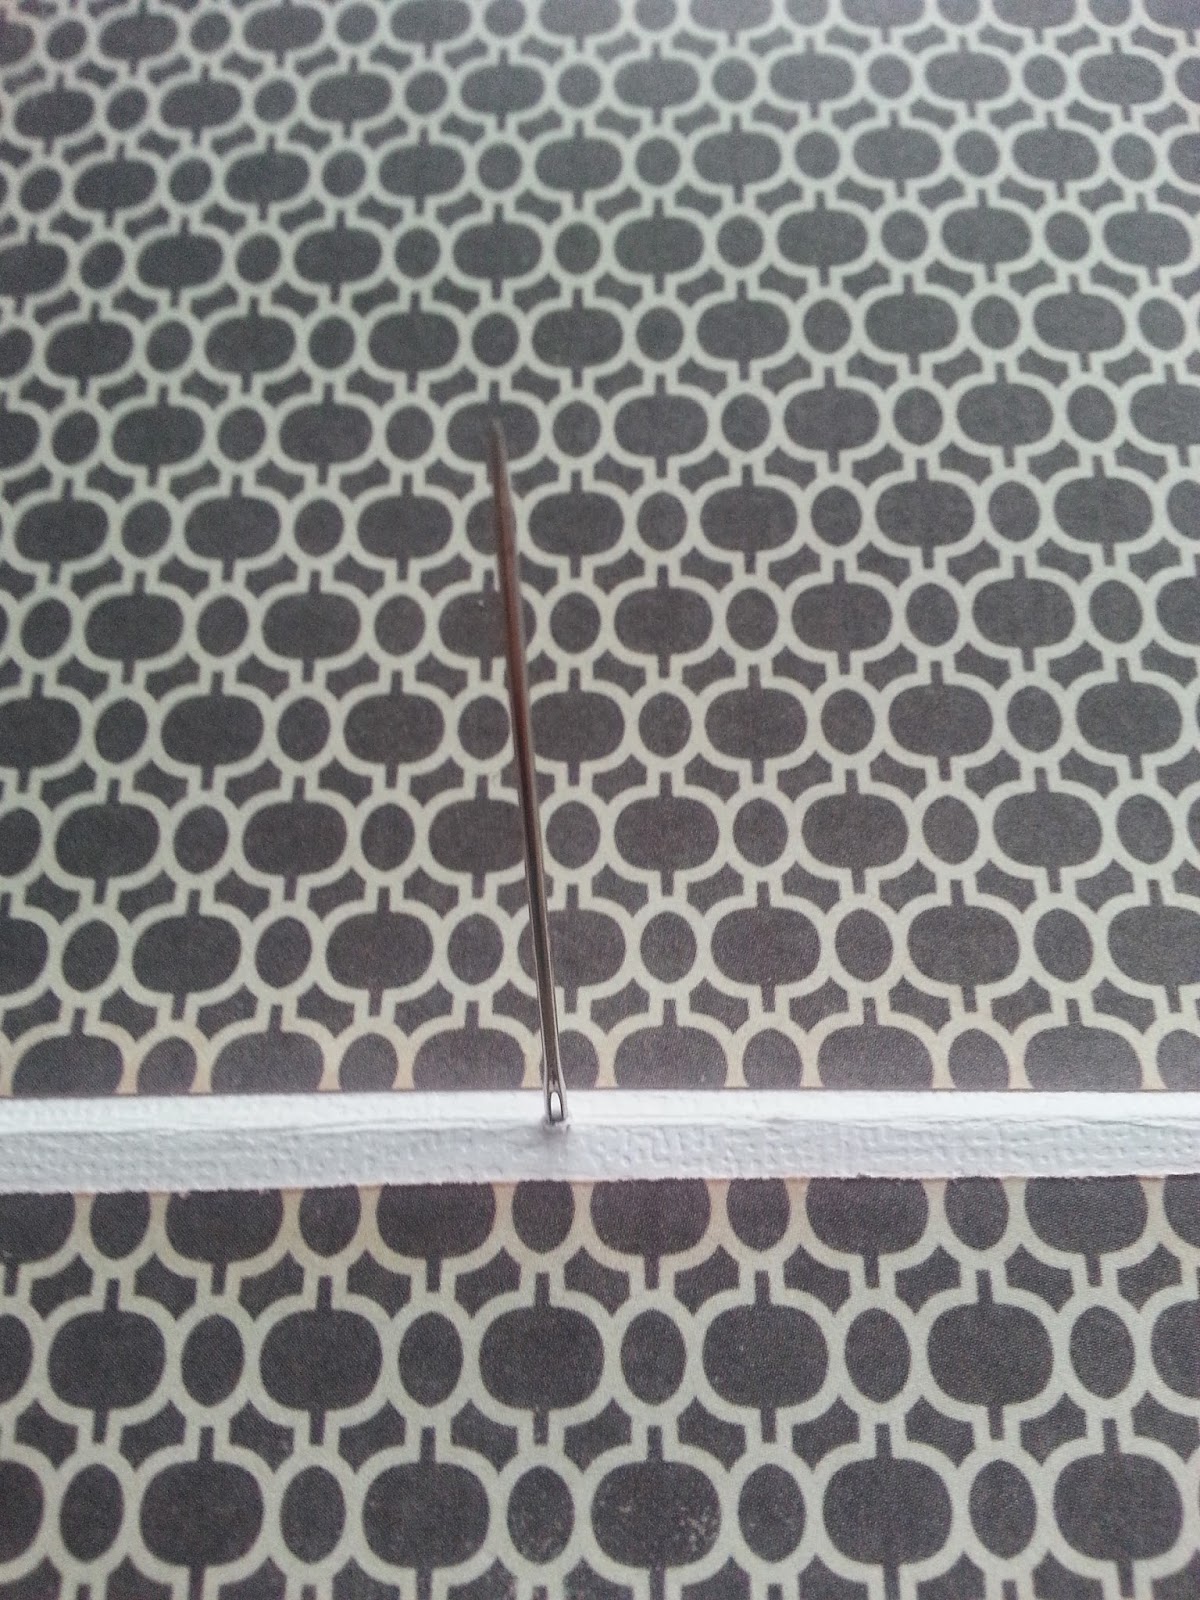
then I have taken the needle back down through the hole on the lefthand side and back up through the centre hole again.


and back down through the right handside hole. I have pulled as gently as I could so that the stitching was taut, but not tearing the cardstock. I did this for all my pages. The following pics may explain the process better than I can.


The finished binding!!
My pages are now looking like this


Here is a close up on the sewing detail...

I then glued this into my cover


....THEN I glued my pages in :)


Now all that is left to do is add photo mats and embellishments.....that is for next week

Thanks for stopping by.....


No comments:
Post a Comment