Friday, May 30, 2014

Creative Inspiration - Week 22


Hello all.

Hard to believe that we are twenty two weeks into this year already. 

Has been a quieter week around my household with the weather turning wet and miserable at the start of the week. However that has left me with getting some inside jobs done around my house AND some time for scrapping. So I got stuck into creating for Mad About Scrappin. 

This week I have created a few cards for you. Have a birthday this week and also wanted to send a card to someone to let them know I was thinking of them.  
 Now I decided to use up some scraps from some Teresa Collins - Memorabilia paper range that I had left over from earlier this year. I am trying to clean up all my scraps at the moment and find that using them for making cards is perfect. 

For the first card I wanted to create something a little feminine from this paper range. By stamping onto the left side of the patterned paper using some dove grey coloured staz on I have added to the background without it being too bold in colour. I have then inked and layer a chevron journal card and a piece of a die cut frame I had in my stash. I then clustered some flowers together and added a greeting to finish off the card. Super easy by quite effective.

Now for the second one I had to create a card for my nephew. It's his birthday and I must say I always seem to struggle to create a masculine card. However this time around I must say I am most impressed with this card. By layering some of the papers and then added some twine held on with the brads I am quite happy with the look of this. I then cut a pennant and mounted it horizontally with 3D foam tape. Then I added some bits and pieces from my stash including the really cute wooded star from Mad About Scrappin. I then finished the card off with the greeting and it was all done.

Have you created cards lately?? 

Do you need to clean out your scrap stash ?

Why not give some cards a go.

Till next  week.

TFL, Michelle x

Photobucket
Pin It Now!

Wednesday, May 28, 2014

Teresa Collins Product Spotlight with Amy

Hi everyone! Amy Prior back again today to share my product spotlight with you all and this month I am highlighting the fabulous Teresa Collins Daily Stories range available from Mad About Scrappin.


I have also used one of the gorgeous Ornate Wood Veneer Frames on this layout which is also available from Mad About Scrappin.


For my backround on both of these layouts, I have added some Dylusions Polished Jade mist by spraying a little bit onto my craft sheet, then spraying a little bit of water and stamping my paper onto the craft sheet. It creates this awesome watercolour effect which is very trendy right now.


I just love the colours in this collection from Teresa Collins and I have been having so much fun playing with them that I think I need to invest in some more of the papers. 


Products available from Mad About Scrappin for these 2 layouts include...
Teresa Collins Daily Stories Collection Papers & Stickers

Thanks so much for stopping by and until next time, happy scrapping!
Amy Prior xx
Photobucket
Pin It Now!

Monday, May 26, 2014

Mini Album - All finished!!

It's finished!!! 


My mini is finished!!! Yaaaay!!! so without any further ado here are the pics.


 There really isn't much else to say... I think the pictures say it all.
Some of the products I used in the making of this mini were

I have shared this over on youtube...http://youtu.be/Uq2ZJaPesaY 
 Thanks for stopping by.....

.....till next time 
.....✿ღ.~♥  Live your Bliss ♥~ღ.✿
Photobucket
Pin It Now!

Friday, May 23, 2014

Creative Inspiration - Week 21


 Welcome back to another week of Creative Inspiration on behalf of Mad About Scrappin.

With my study deadline looming this week I decided to get this weeks Creative Inspiration sorted nice and early. So I took advantage of some free time on Sunday to get creative.

However... my creative time didn't quite go as planned...

Unfortunately my printer ran out of ink!!! Always the way. So I decided to keep going with my plan to scrap... I just had to rethink how I was going to scrap this layout a little as I knew I would have to add the photo later. The funny part is though that when I actually went to print the photo I was going to use after the layout was complete... I ended up using a completely different photo of a different daughter. 

Anyways... here this weeks Creative Inspiration.

I have run out of the yummy Chickannidy paper range I was using. So I was in a flap trying to find some paper from Mad About Scrappin to use. I had grabbed this Kaiser paper rage from a Mad About Scrappin sale a while ago and had forgotten I had it. I love this  range, Through the Looking Glass. Very whimsical and fun to play with with the bold dark colours. 

 This paper range also had a great matching sticker sheet that I had grabbed to play with too. I loved being able to use the sticker accents to embellish my layout. I used some 3D foam dots to give some of the stickers a bit of dimension. I love these old tickets I found in my stash too. Amazing what you find when you go through all your bits and bobs.

I finished off the layout with this packing tag I found that was pre-stamped in my stash. Added some of the floral stickers, some with 3D foam tape to layer them, and some garden twine to the tag.

I love playing around with ink and creating this layout.

Still think it is funny that I ended up using a different photo.

Do you add photos to your layouts before or after embellishing ?

Till next week.

TFL, Michelle x
Photobucket
Pin It Now!

Wednesday, May 21, 2014

Hello My Name is ....Teresa Collins Product Spotlight

I fell in love with this paper range when I first saw it on the
Mad About Scrappin Shop. I loved the fact it was a neutral palette to work with for both male and female layouts. Normally I would pass on Teresa Collins ranges as I find them hard to work with but this one was easy...

I created a layout about a very important day for my cousin...her Graduation
I originally designed the layout on a white background but it made it look too bright and neat, so I changed to Kraft and was really happy with how it looked.


I really like the Cream lace available in the Mad About Scrappin shop, I simply folded it back and forth and placed it behind my journalling (something I rarely do)

It also comes in Pink and Blue :)


I also love the black Elise Flowers, they worked really well with this range also.

Thanks for looking, dont forget to check out the Mad About Scrappin Shop for other awesome products...

Crece xxx

Photobucket

Pin It Now!

Monday, May 19, 2014

Monday Project Share

Hey there everyone....well it is Monday and today was supposed to be the day I shared with you all my finished mini!! You know the Work in progress one??
Well I did start to decorate .....


.......but then everything went pear shaped from there and my week turned into one of THOSE weeks and life just kept getting in the way and no matter how hard I tried I just couldn't catch up.  So it got to Friday and I am thinking O M G!!!! I haven't done my mini....so of course the first thing I did right after hyperventilating was hit the panic button...and thought "what can I do???" ... "what can I do???".

Now I know that there probably many Mums out there have been caught in similar situations with gift giving ideas that were needed like YESTERDAY!!! Soooooo today I have a really quick n easy project to share with you all that you can make straight from your left overs or even a complete paper collection.

Some cute little notebook holders....These can be personalised for that special someone or you can just keep them simple depending on your time....

 To create mine, I pulled out some scraps and embellishments from some of my past Mad About Scrappin kits...
a couple of packets of these little paper pads


seeing as tho' my pads measured 3"x5" I cut my strips 3 1/4"x12


  I scored each of these at:-
4 1/2"
4 3/4"
9 3/4
10"
11 1/4"
 I then folded on the score lines so that my little notepad cover looked like this
 
  
 I folded the last 3/4" flap down and adhered it into place with some double sided tape.  I then wrapped the seam binding and lace all the way around to form sides so that the notepad could just slide underneath.

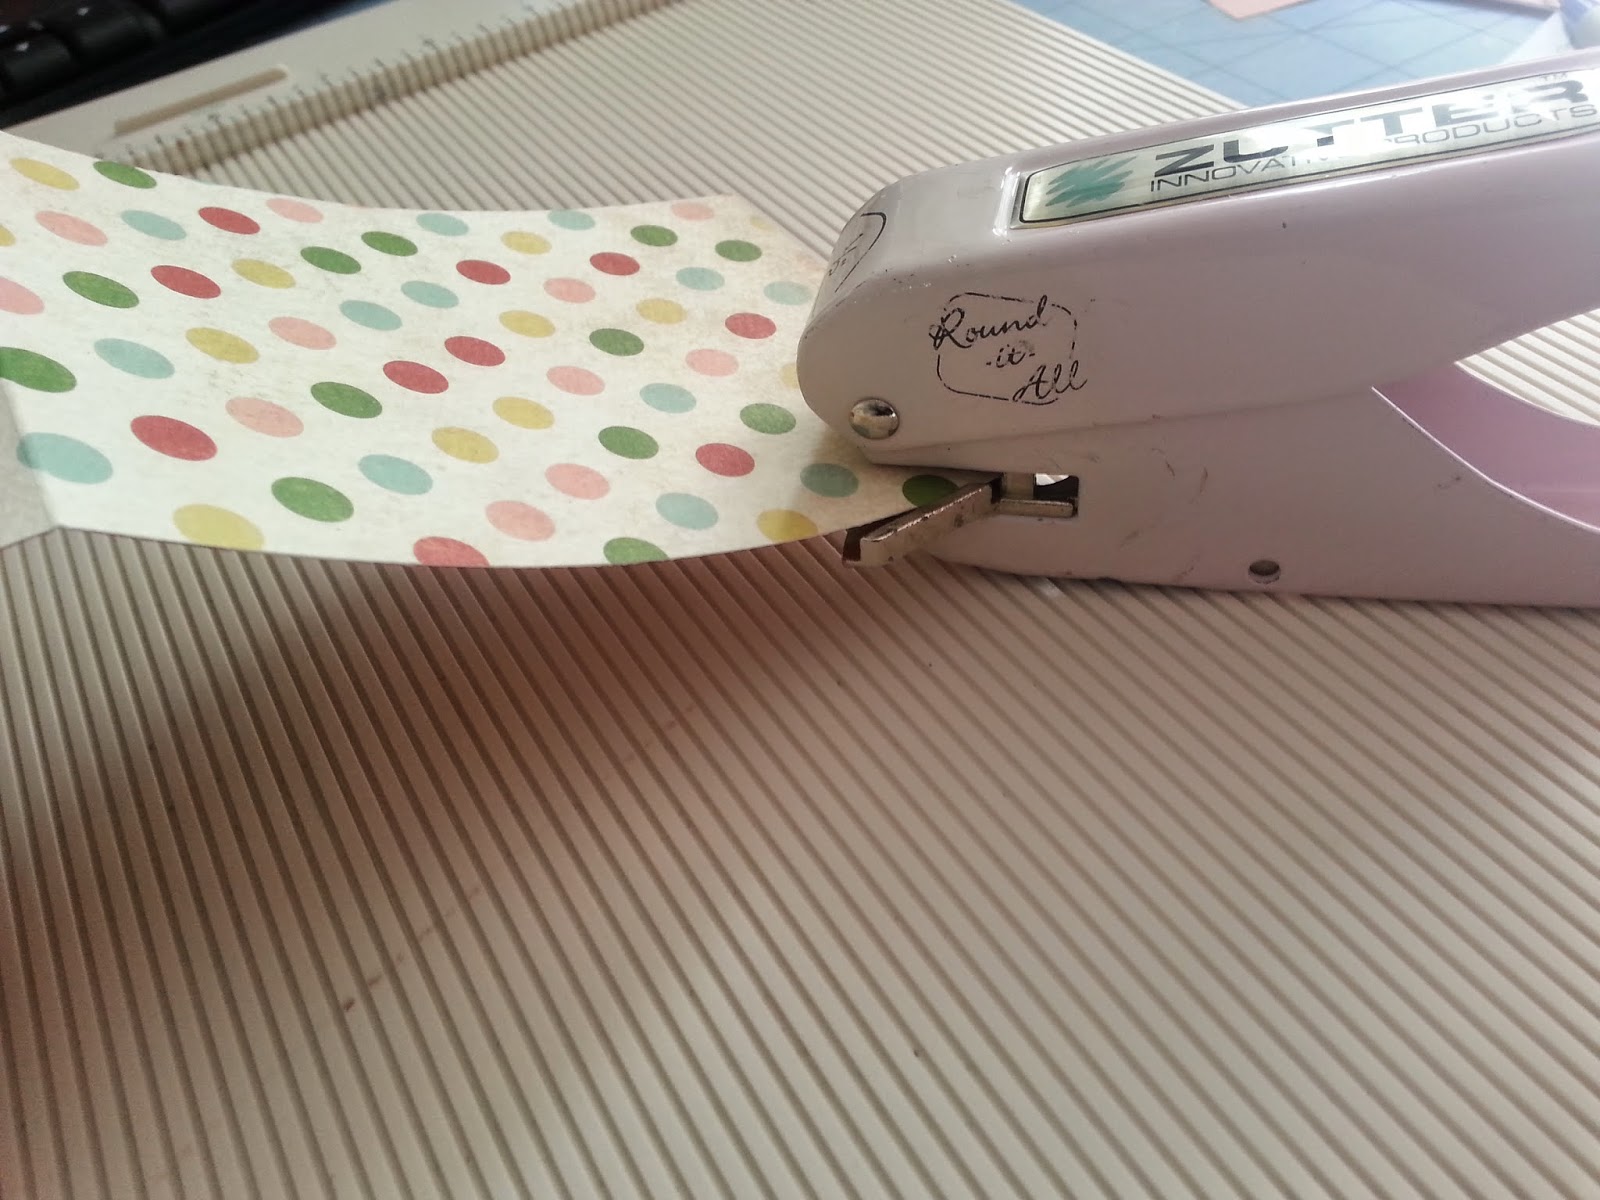
 I also rounded the corners to make it slide under a little smoother
 I also added a little strip of paper that you can slide the notebook into.  Now all I have to do is refill it!!

and here the finished notepad holders.  I have kept embellishments to a minimum so that you can just throw them in your handbag and not worry about damaging them too much.


You can find all the products I have used to create these cute little holders over at the Mad About Scrappin Store.  
Come join us on facebook and follow the blog

 Thanks for stopping by.....
Photobucket
Pin It Now!