Showing posts with label Twas the Night Before Christmas. Show all posts

Saturday, December 27, 2014

A Little Post Christmas Inspiration


Hi all.....soooo how are you all recovering?  Did you eat too much?? I know I did!!  I hope that you all had a wonderful time and Santa bought you some awesome Scrapbooking supplies .... oops I mean pressies ;)   Today I am here to share my last Christmas project with you all and hopefully I can inspire you to create a little something for all those wonderful Christmas moments.

I have used the last of my Design team Christmas kit and created this small 4"x 4" mini album using the Sizzix Bigz Frame Die.


I have cut 5 frames from some heavy poster board to use  as the base.  I then cut 5 frames from the papers and inked up the back of the frames and stamped them all with a music background stamp.


  Well guys as usual I will let the glamour shots do the talking for me.  I have embellished the album with supplies from the Mad About Scrappin store and some fussy cuts from the paper collection.


Here are a couple of close ups of the embellies and pockets .....


Another quick post for you all today.   Please be sure to check out the links below to see what my other creative team mates have to inspire you all....


As always thanks for stopping by.  I sure do enjoy your company and till next time.

....remember to live your bliss......
✿ღ.~♥  Much Love ♥~ღ.✿


Photobucket
Pin It Now!

Monday, December 22, 2014

Christmas Candles

Hi everyone, I am back again with some more Christmas cheer to spread around.  Today I am sharing with you a couple of Christmas candles I have created using embellishments from my Mad About Scrappin December Christmas kit.  These little cuties were super quick to create and are a great table decoration.


 I have used some Hessian/Burlap ribbon as the base and adhered some strips from the Graphic 45  "Twas The Night Before Christmas". 


  To adhere the hessain or burlap to the candle I have used some of the sequins and pinned them to the "back" of the candle.  I will let the pictures do the rest of the talking now.....


Thanks so much for stopping by....  Are you  all ready for Christmas?,  I am - almost :)  I hope I have inspired you to spread some festive cheer too.   Please be sure to check out all the Mad About Scrappin links below - especially the shop to see what's new and what's on sale.


Photobucket
Pin It Now!

Monday, December 15, 2014

Christmas Bags n Tags

Hello everyone and thanks for joining me for another Mad About Scrappin Monday project share.  Today I have some bags n tags that will make a unique and personal way to give your gifts.  I have used three medium sized bags from the craft section in my local cheap shop and my Christmas kit.

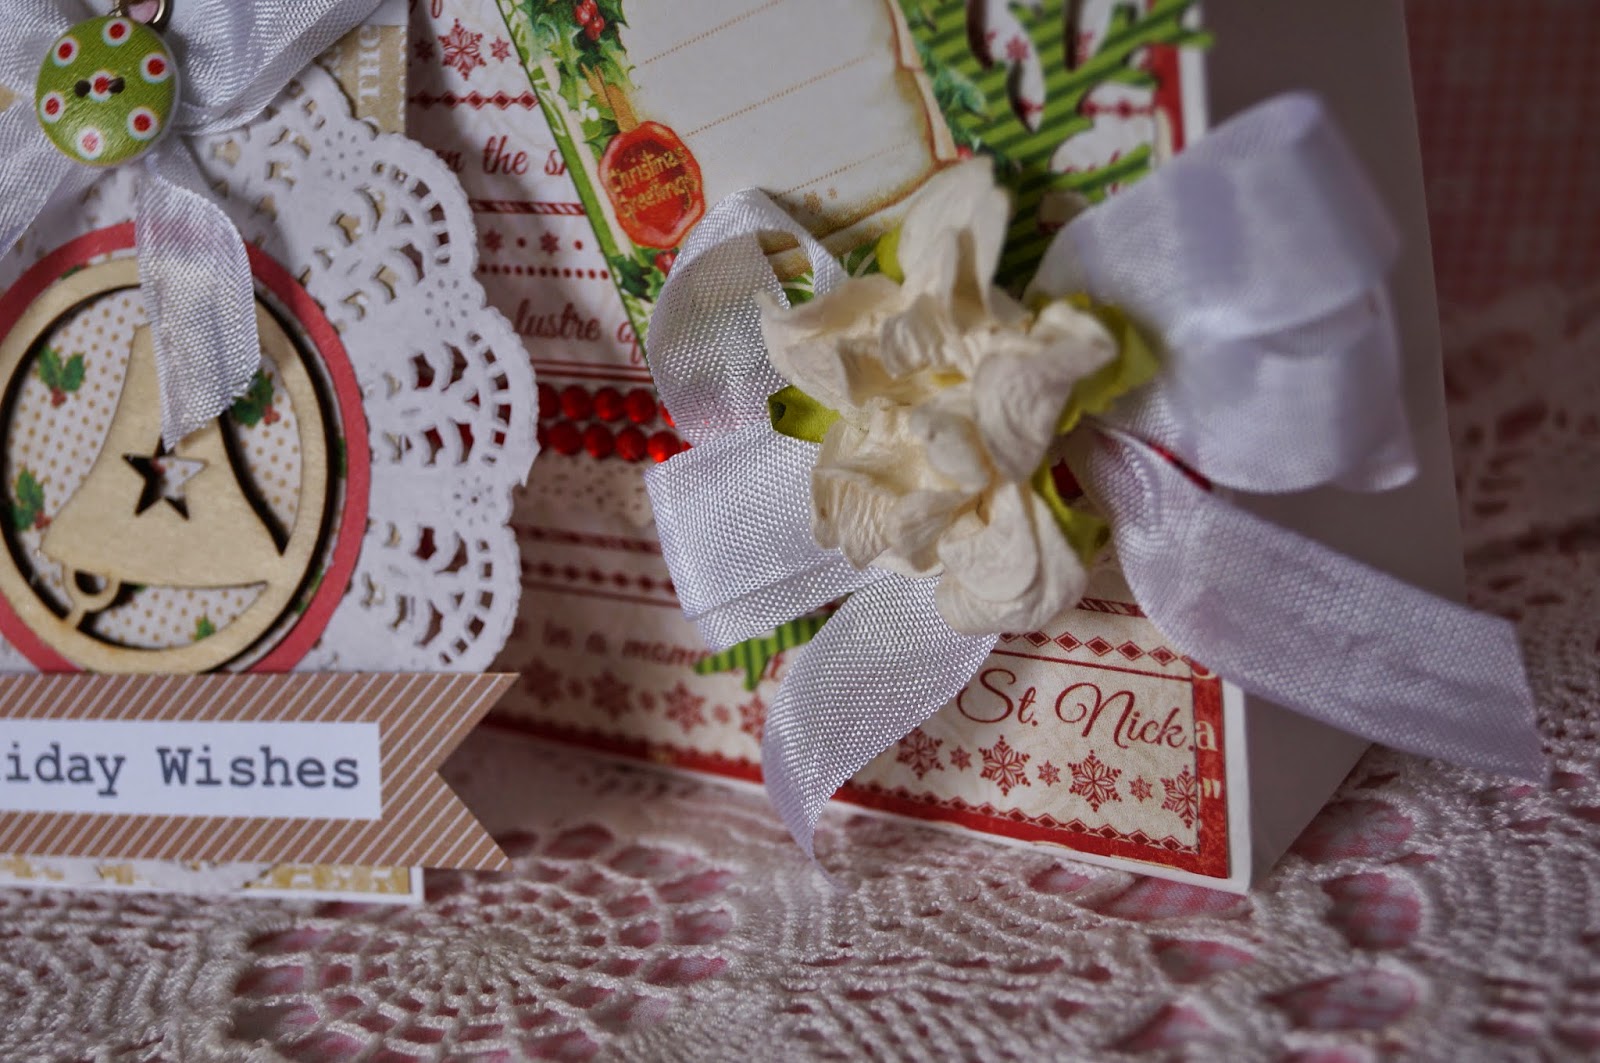
There's not that much to really tell about these I have used a selection of papers from the Graphic 45 Twas The Night Before Christmas paper pad, which I have co-ordinated with some of the tags from the ..... sheet; some seam binding in Christmas colours; mulberry paper flowers from my stash and some lace from a previous creative team kit.  I have also created some matching tags from the 3 remain tags in the kit.  I have embellished them with the wooden icons; buttons and sentiment banners.


So I will let the pictures do all the talking now......


 Wow guys that was quick!! we have come to the end of my post already. Thanks so much for joining me again today and I will see you all again real soon.  Please be sure to check out all the Mad About Scrappin links below - especially the shop to see what's new and what's on sale.

 
PS:  Only ten more sleeps to go!!!!   Have you got your Christmas wish list in???

Photobucket

Pin It Now!

Monday, December 8, 2014

A Little Christmas Cheer

Hi all, thank you for stopping by.  I am back to spread a little Christmas cheer with you all.  It is time for my Mad About Scrappin MOnday project share and today I dug into my Christmas design team kit and created some gift cards and tags.  These are cute and just the right size to pop into that special someones Christmas stocking.


So now where to start?  I have used three of these tags and the two little gift cards.

I thought I would share a little tip with you all.  The three little tags were a little crinkled from their journey down to me....
....soooo I grabbed my trusty little travel-sized hair straightener 
.......and just ironed out the wrinkles.  I also use this on some laces and ribbons to get rid of some of those annoying little wrinkles.

Once I had them all straightened I then grabbed my Tim Holtz Tea Dye Distress Ink and make up wedge and inked up the edges.  I have also done the same to some chipboard frames.


I added a stamped sentiment to the back of the tag.


Then from the gorgeous embellishments in the kit


I embellished the little frames with some little tag cut outs from the "Long Winters Nap" and "Up on the Housetops" sheets from the 8x8 paper pad.  I topped each fo the tags off with a small jute bow and added some pine branches to the poinsettas


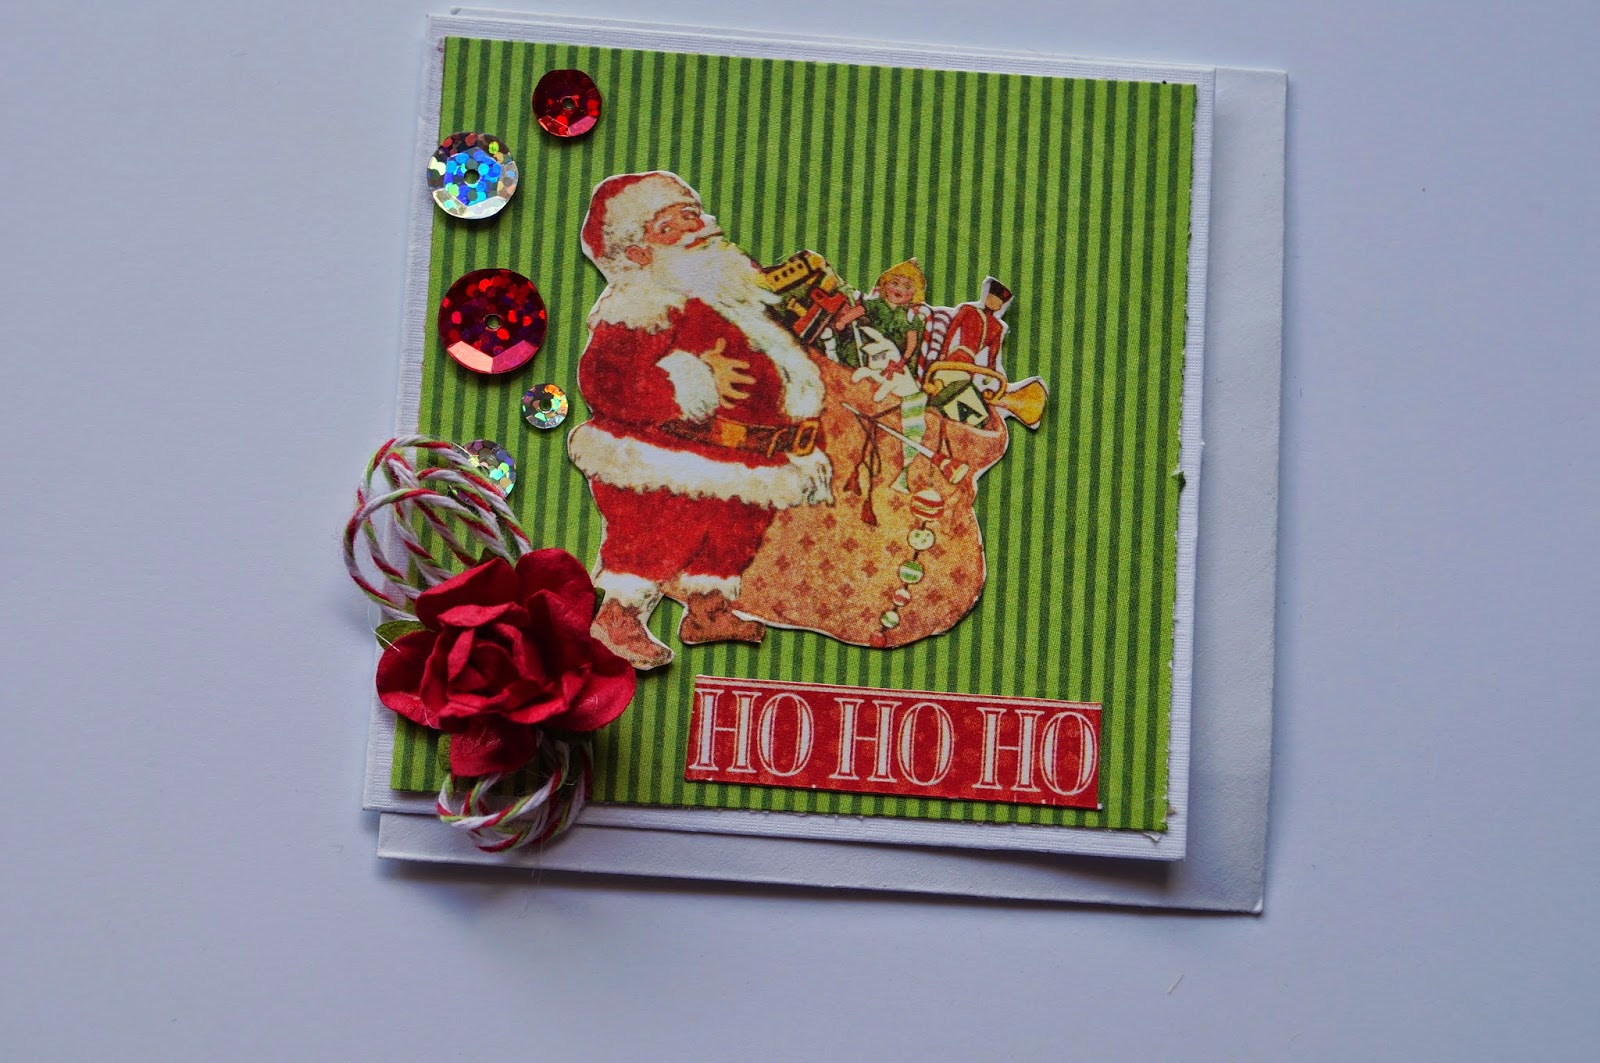
The two itty bitty gift cards are only 3"x3" square and were great to use up some of the leftover paper scraps I had.
 From the "Ho Ho Ho" sheet  I fussy cut the two "Ho Ho Ho" word strips
 I fussy cut the Santa from one of the postcards found on the "Up On The Housetops" sheet and added a red rose from my stash with some of the twine and sequins from the kit.
 The second little gift card is much simpler as I have just layered different selections from my scraps and fussy cut the image from the "Jolly Old Elf" sheet
  I added a small twine bow with a little bit of bling in the centre.


 Soooo we come to the end of my post.  I hope I have inspired you to spread some festive cheer too.   Please be sure to check out all the Mad About Scrappin links below - especially the shop to see what's new and what's on sale.


Photobucket
Pin It Now!